How to Make a Wooden Hat Stand

Straw Hat on Stand

DIY Wooden Hat Stand
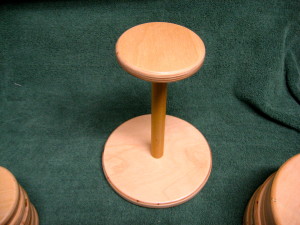
You can make a wooden hat stand easily. I was asked to make hat stands out of wood as a Christmas present. They were to be made different heights so they could be put on a closet shelf. Hats with brims could be put closer together as the brims would not touch each other, because they are at different heights.

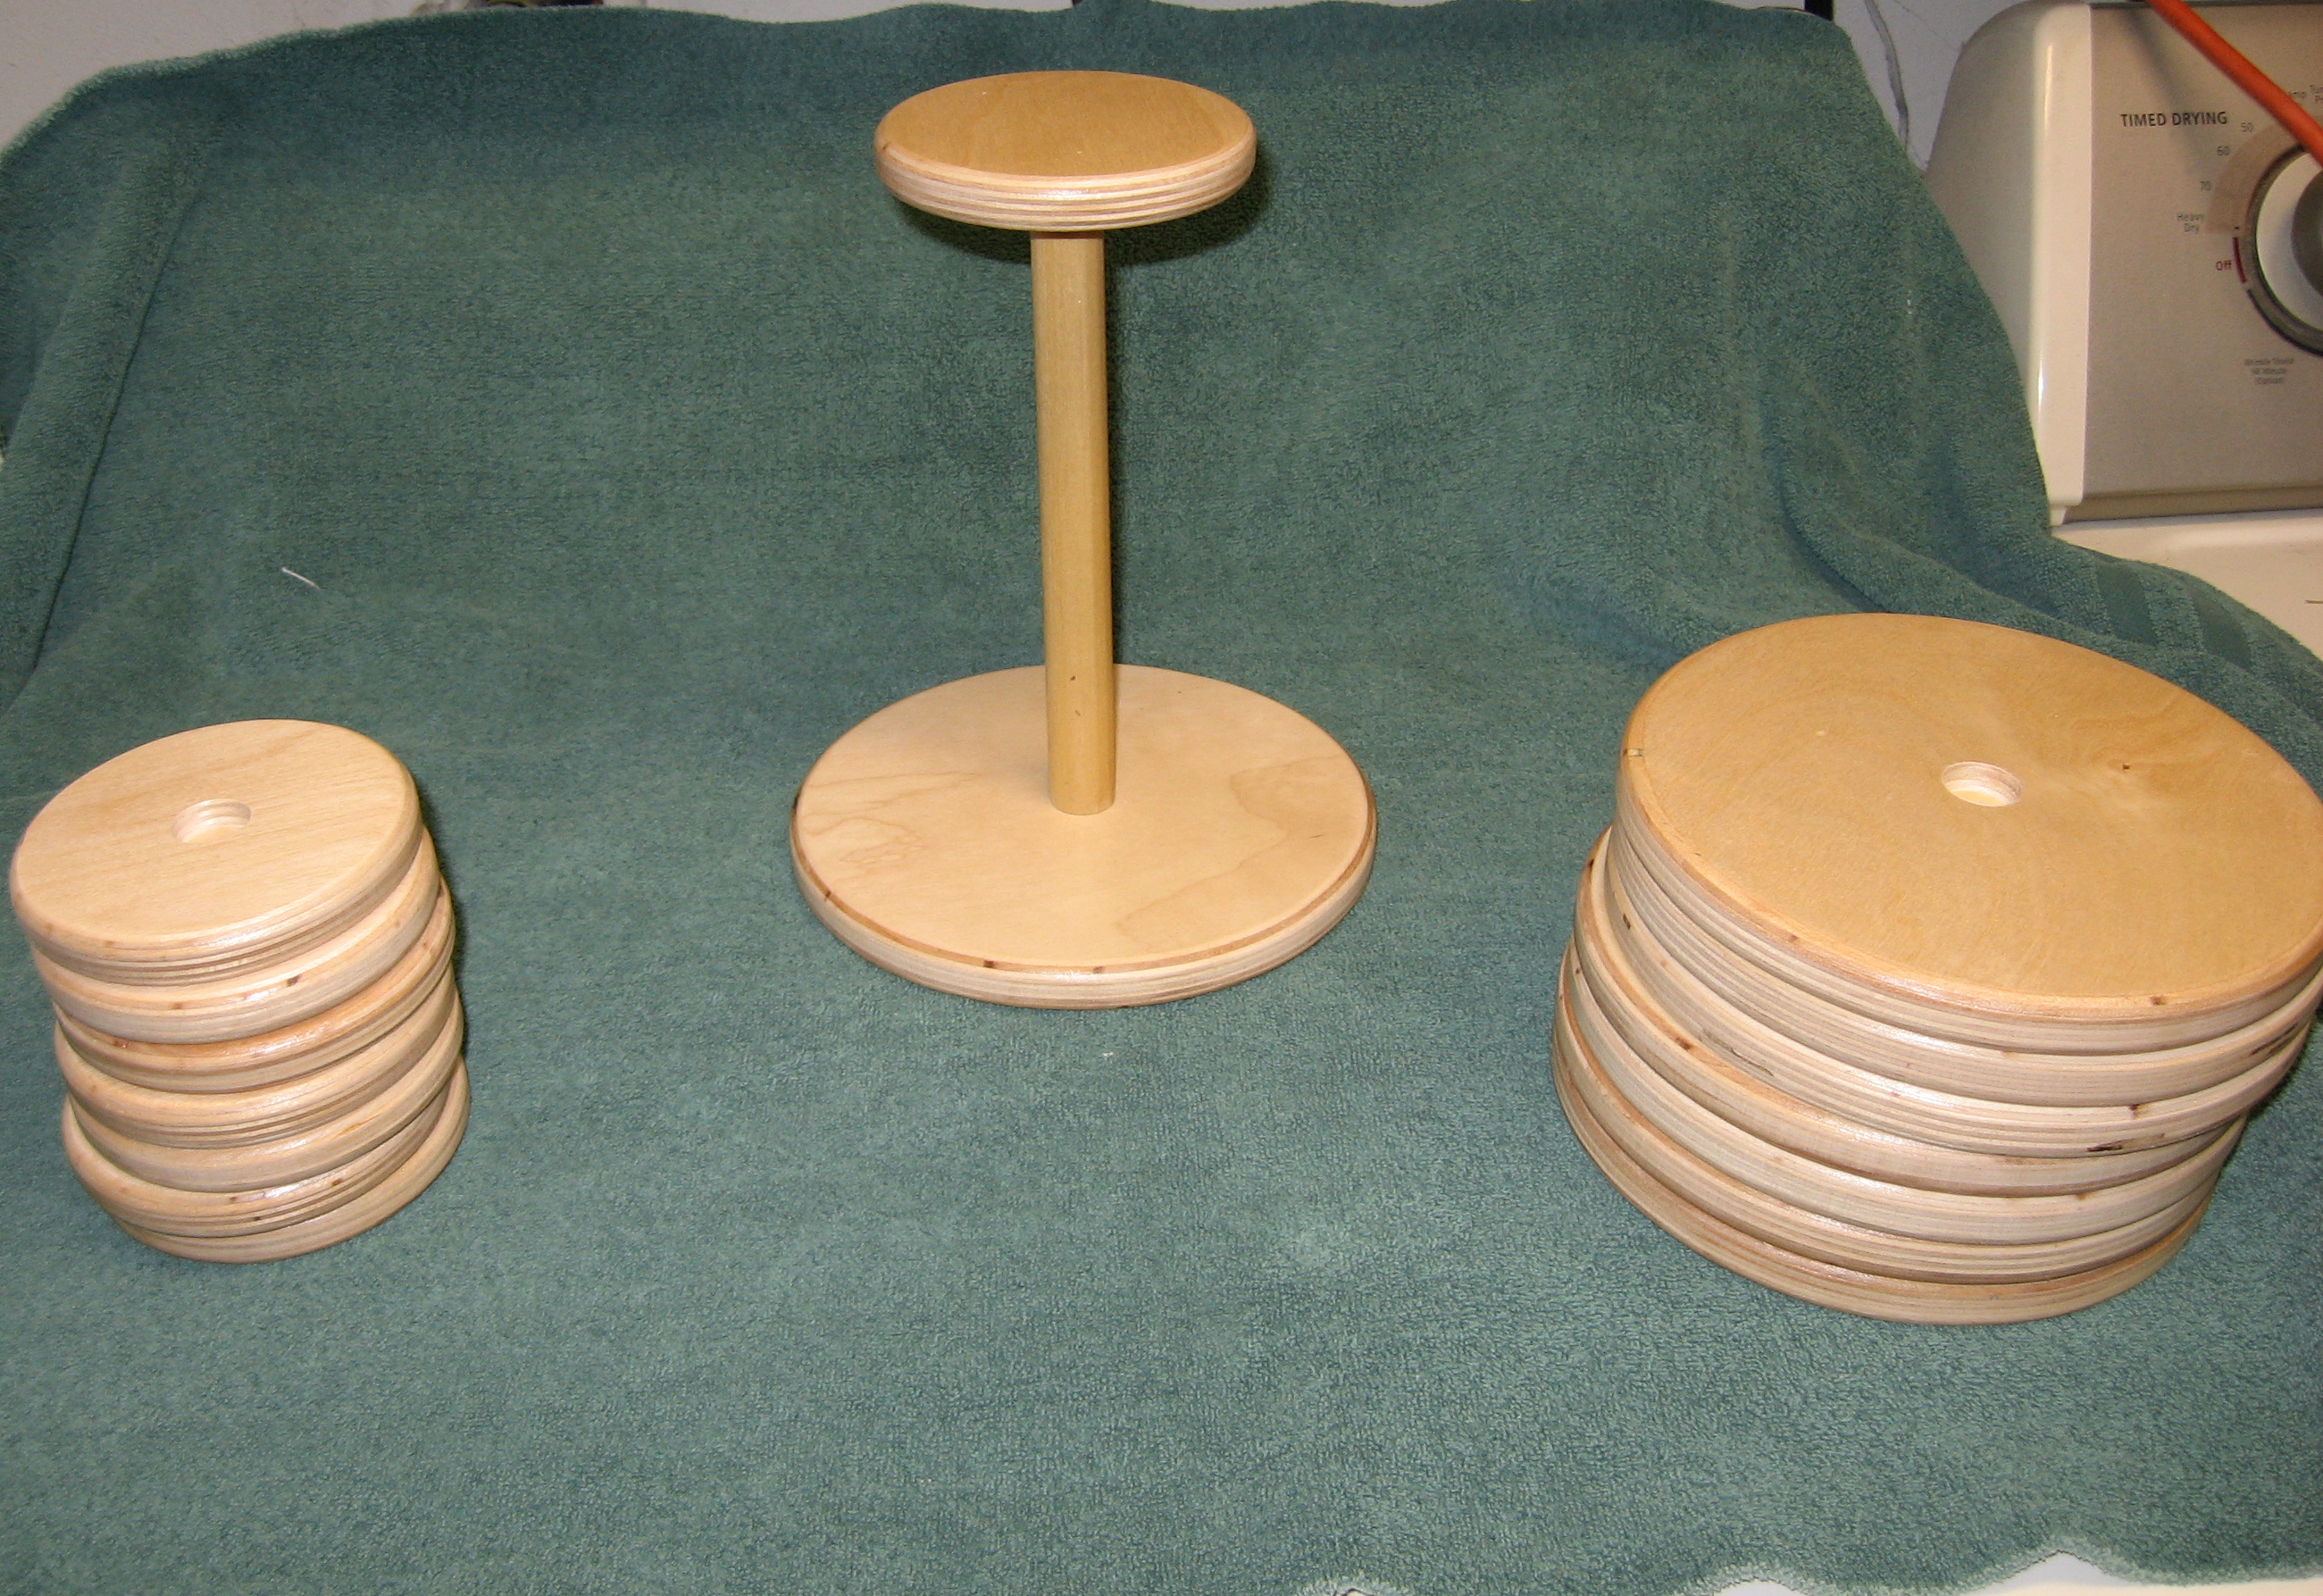
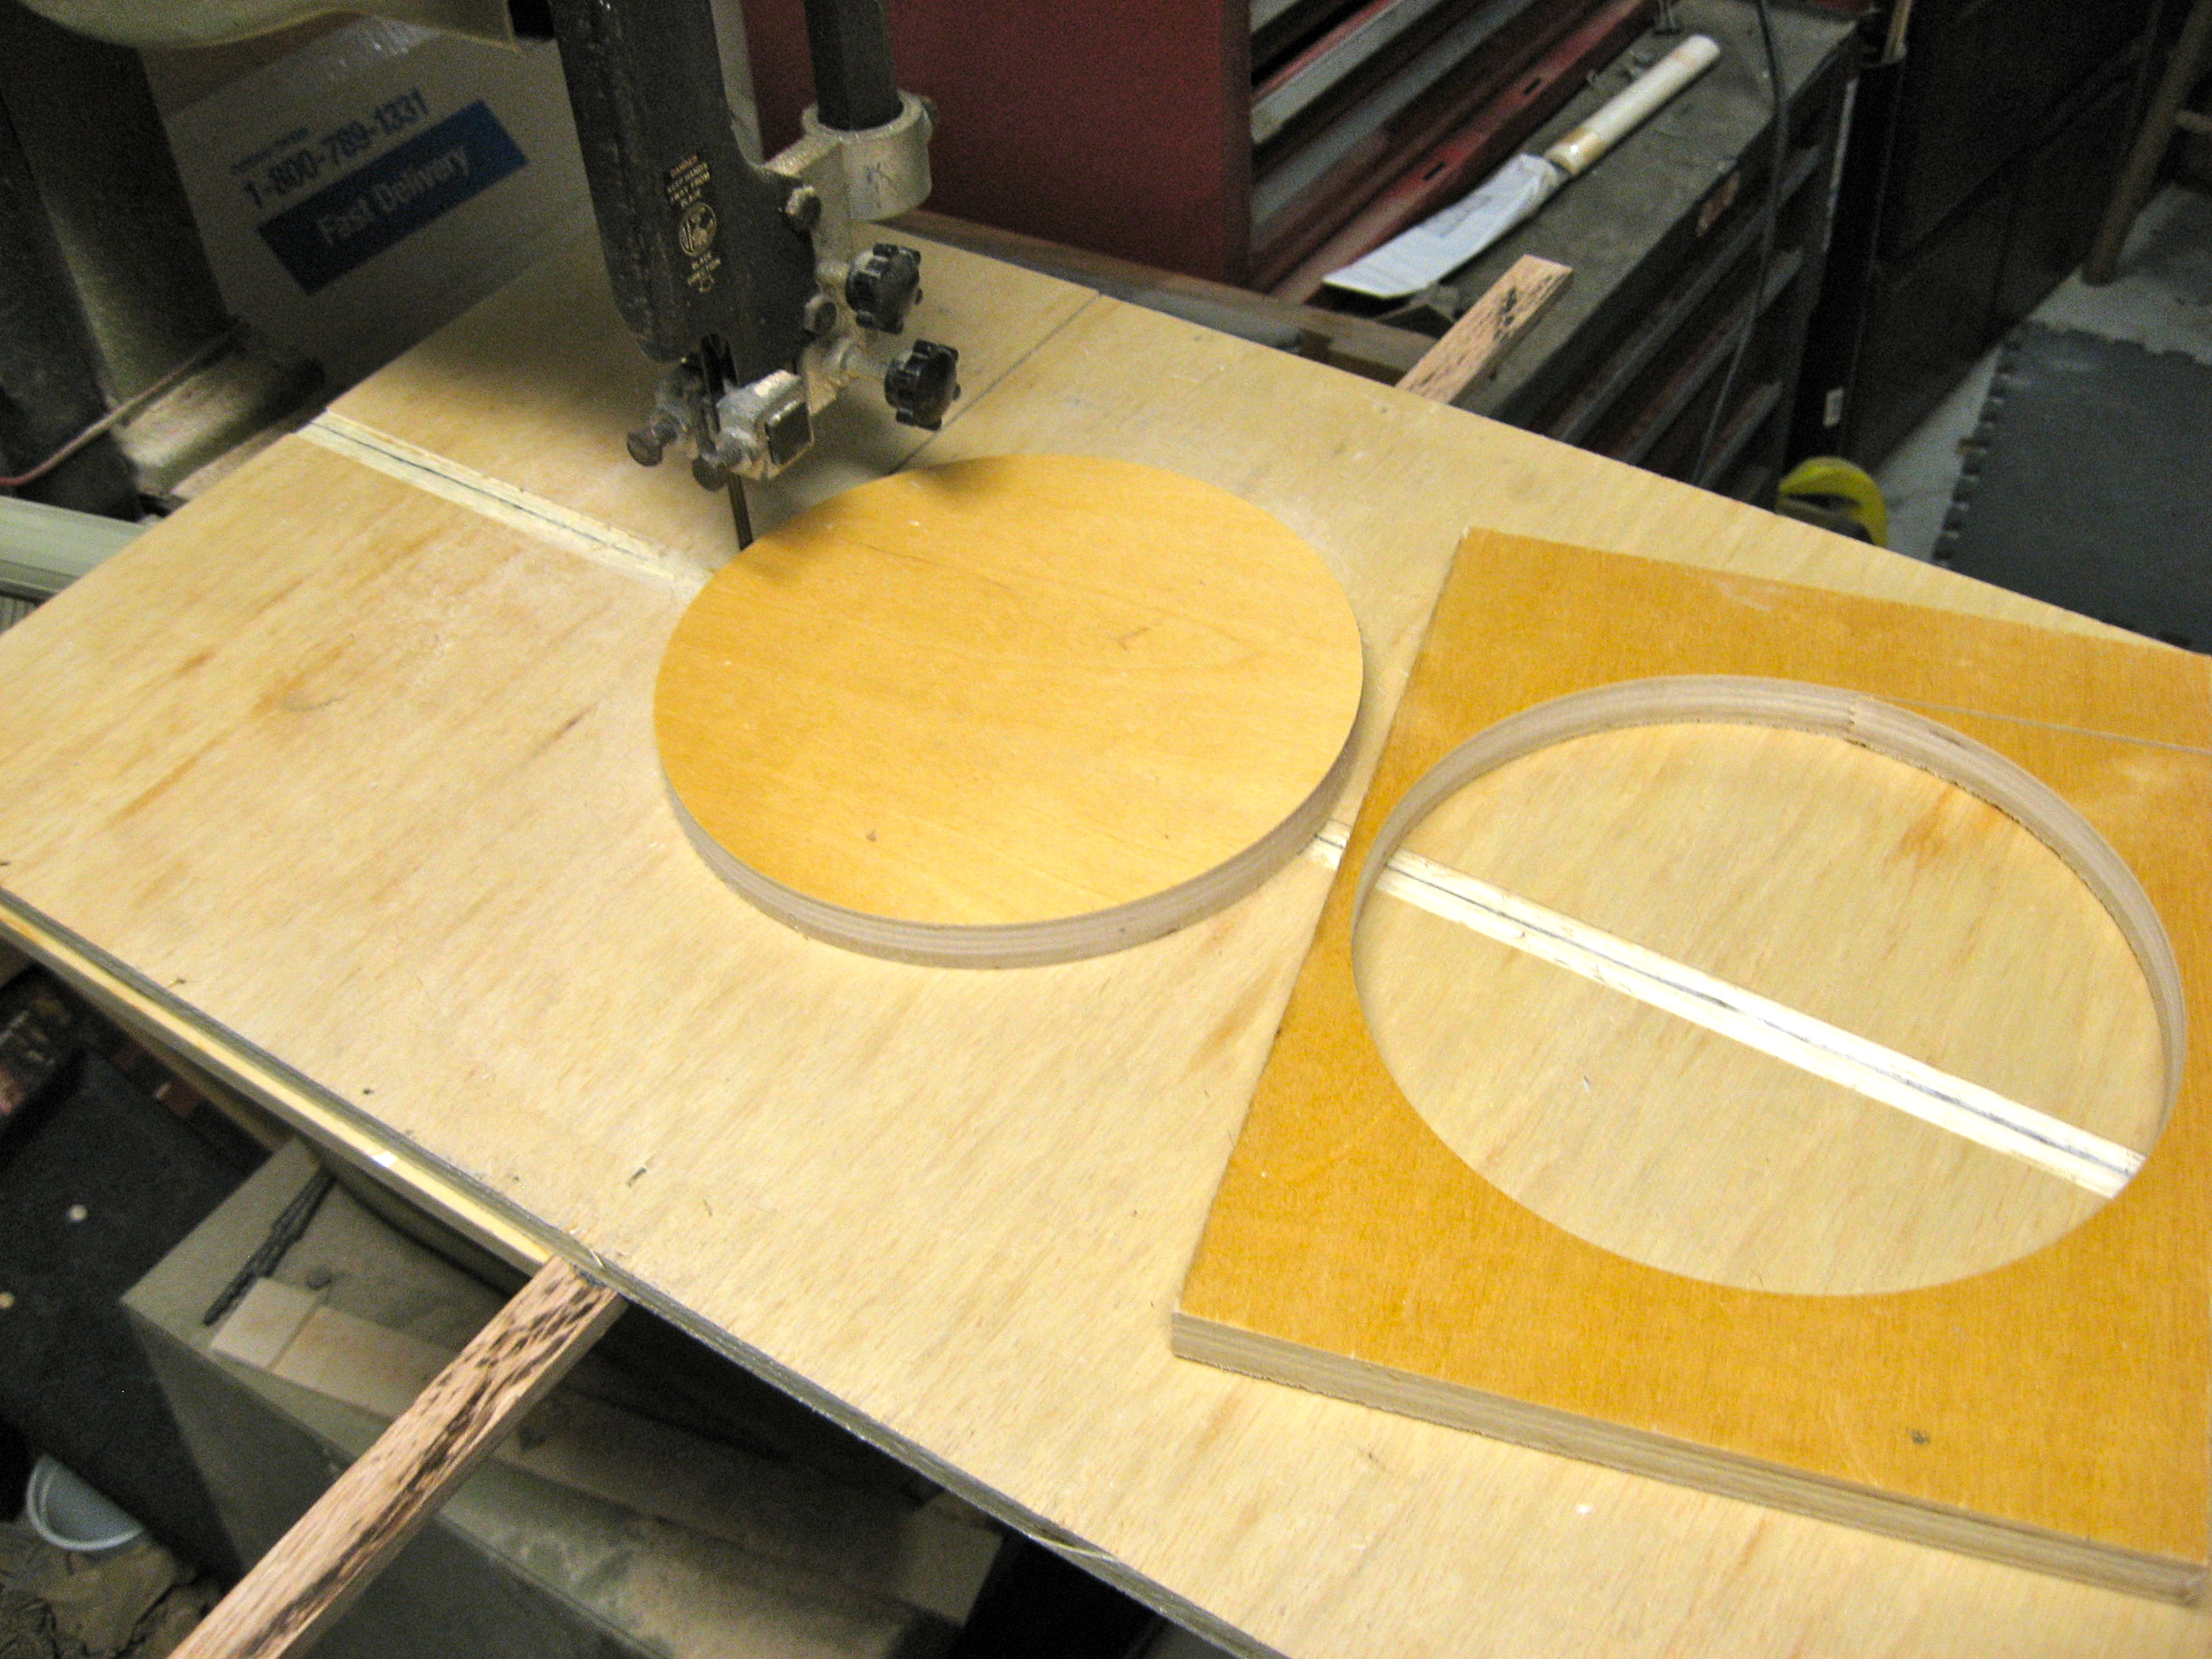
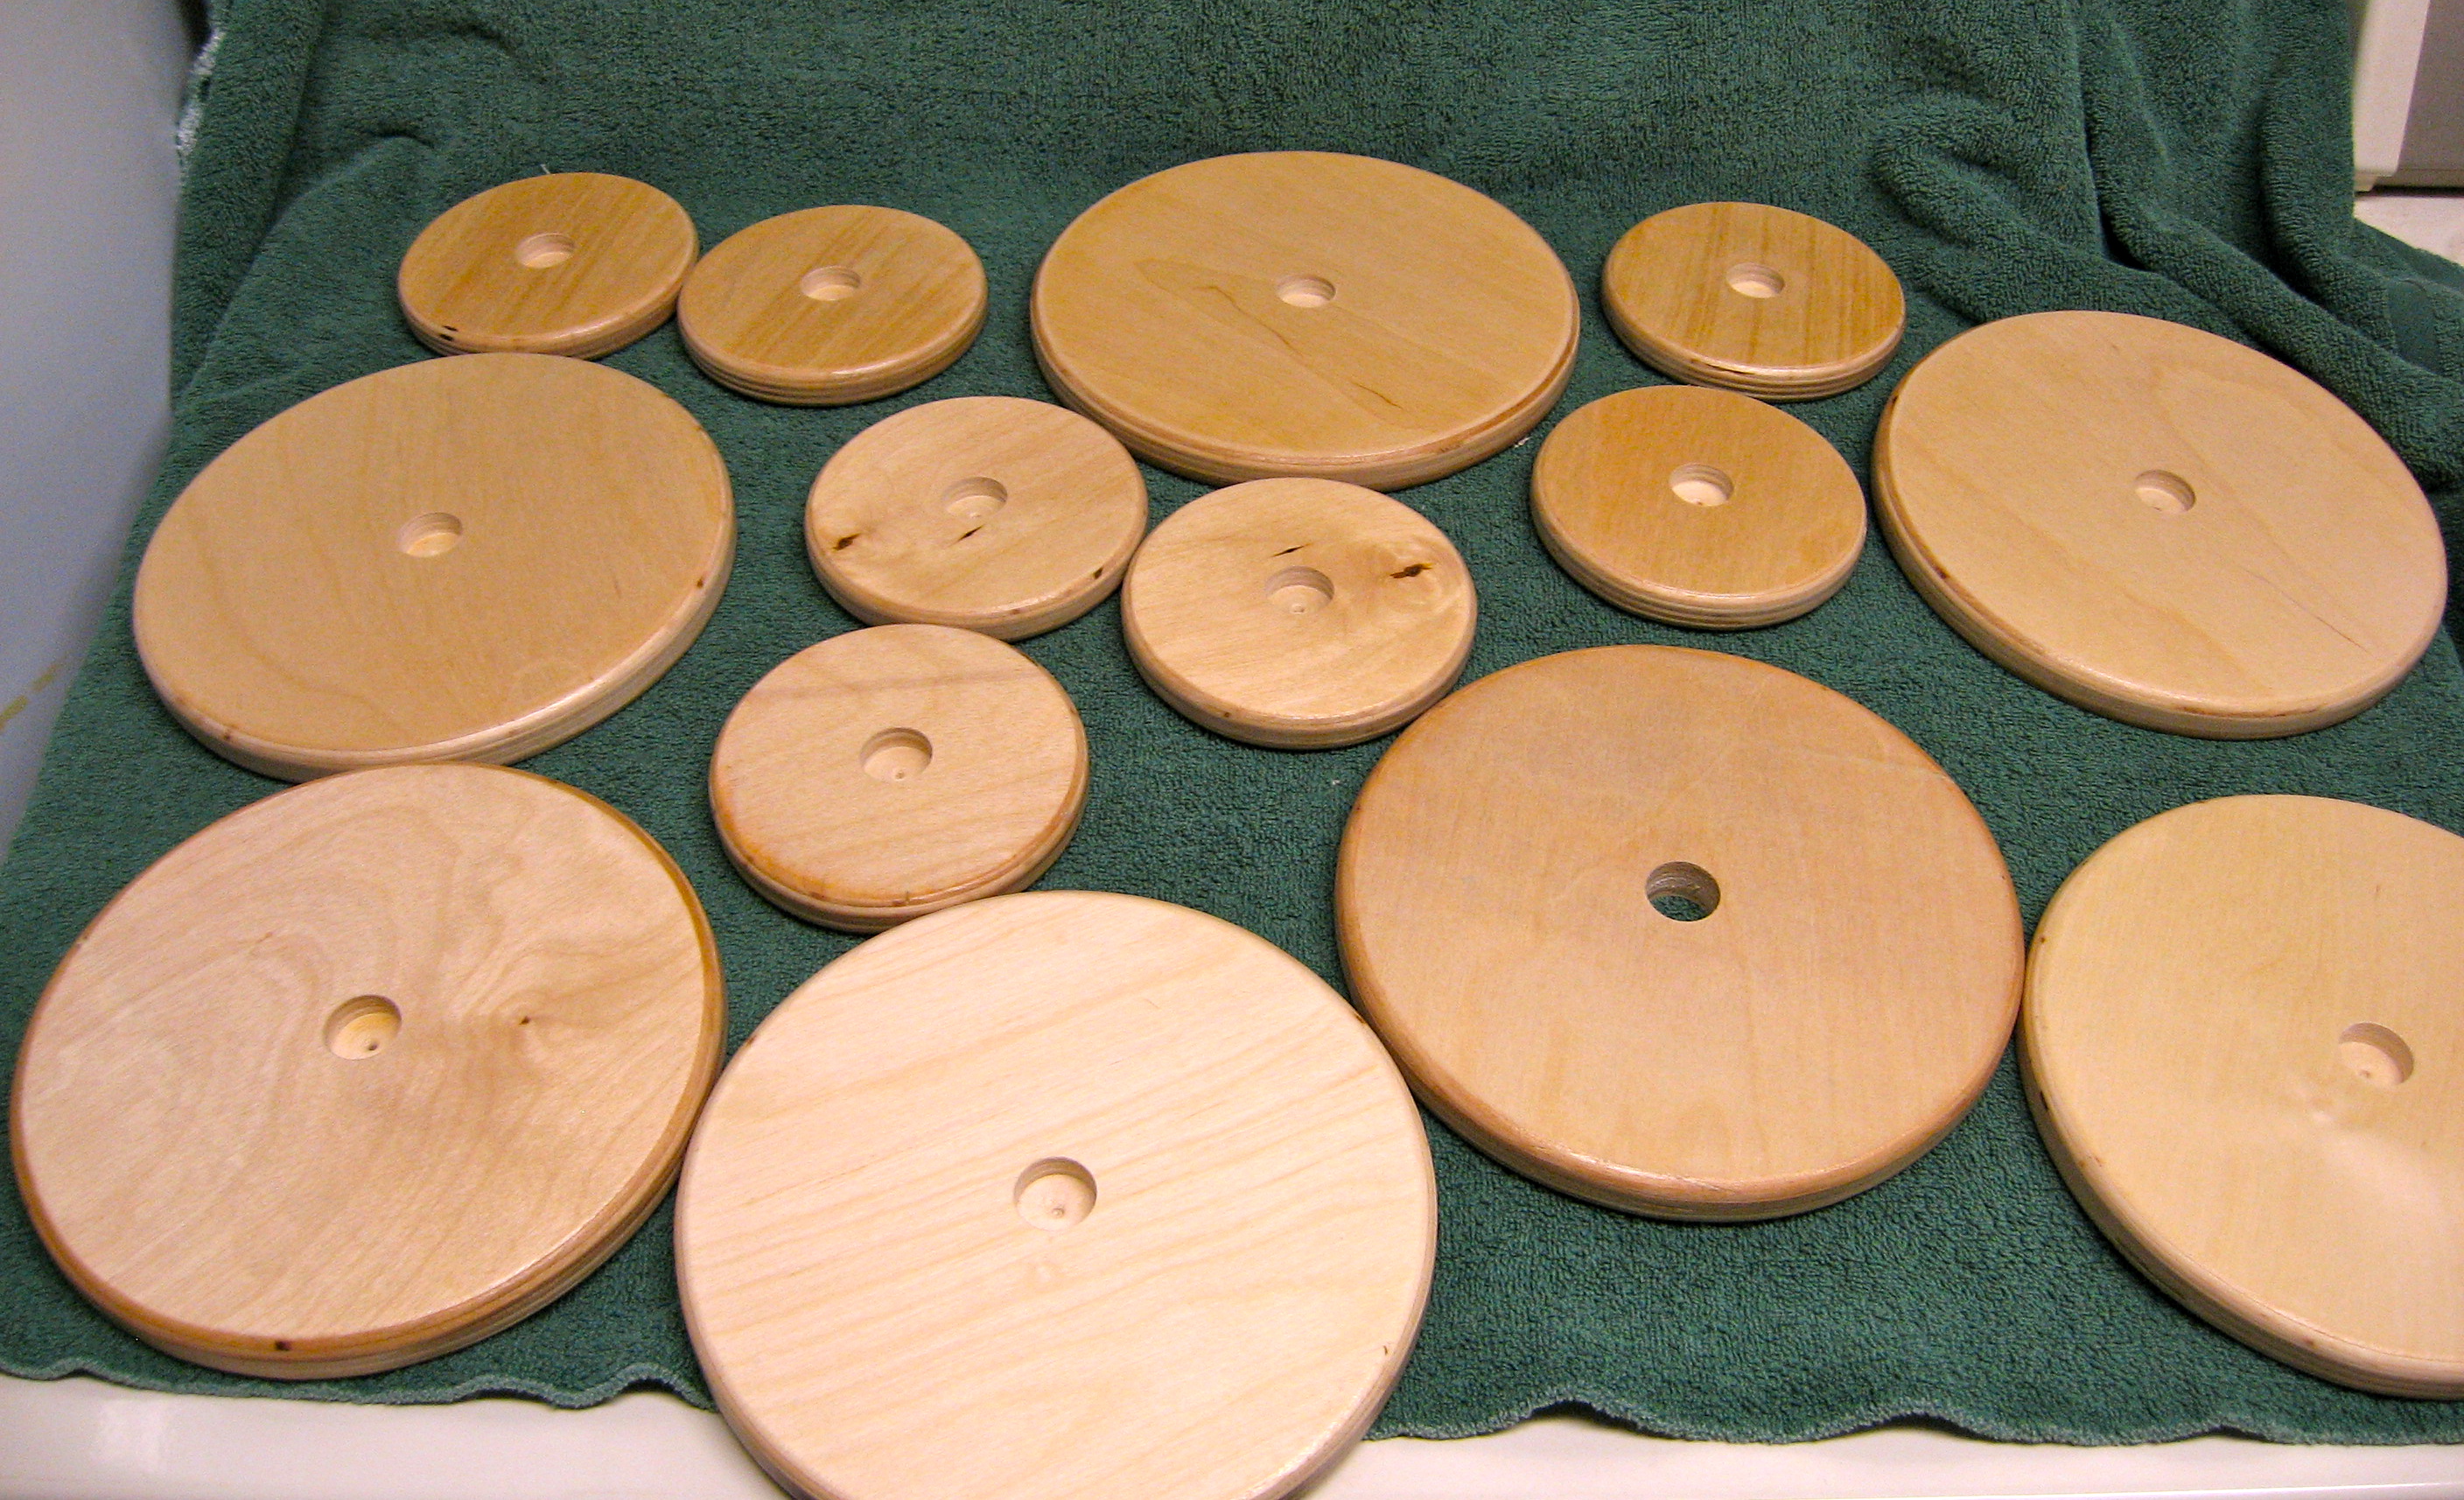
Simply made out of 15mm (9/16″) baltic birch ply. 2 disks- 4″ top and 7″ bottom with a 3/4″ dowel center.

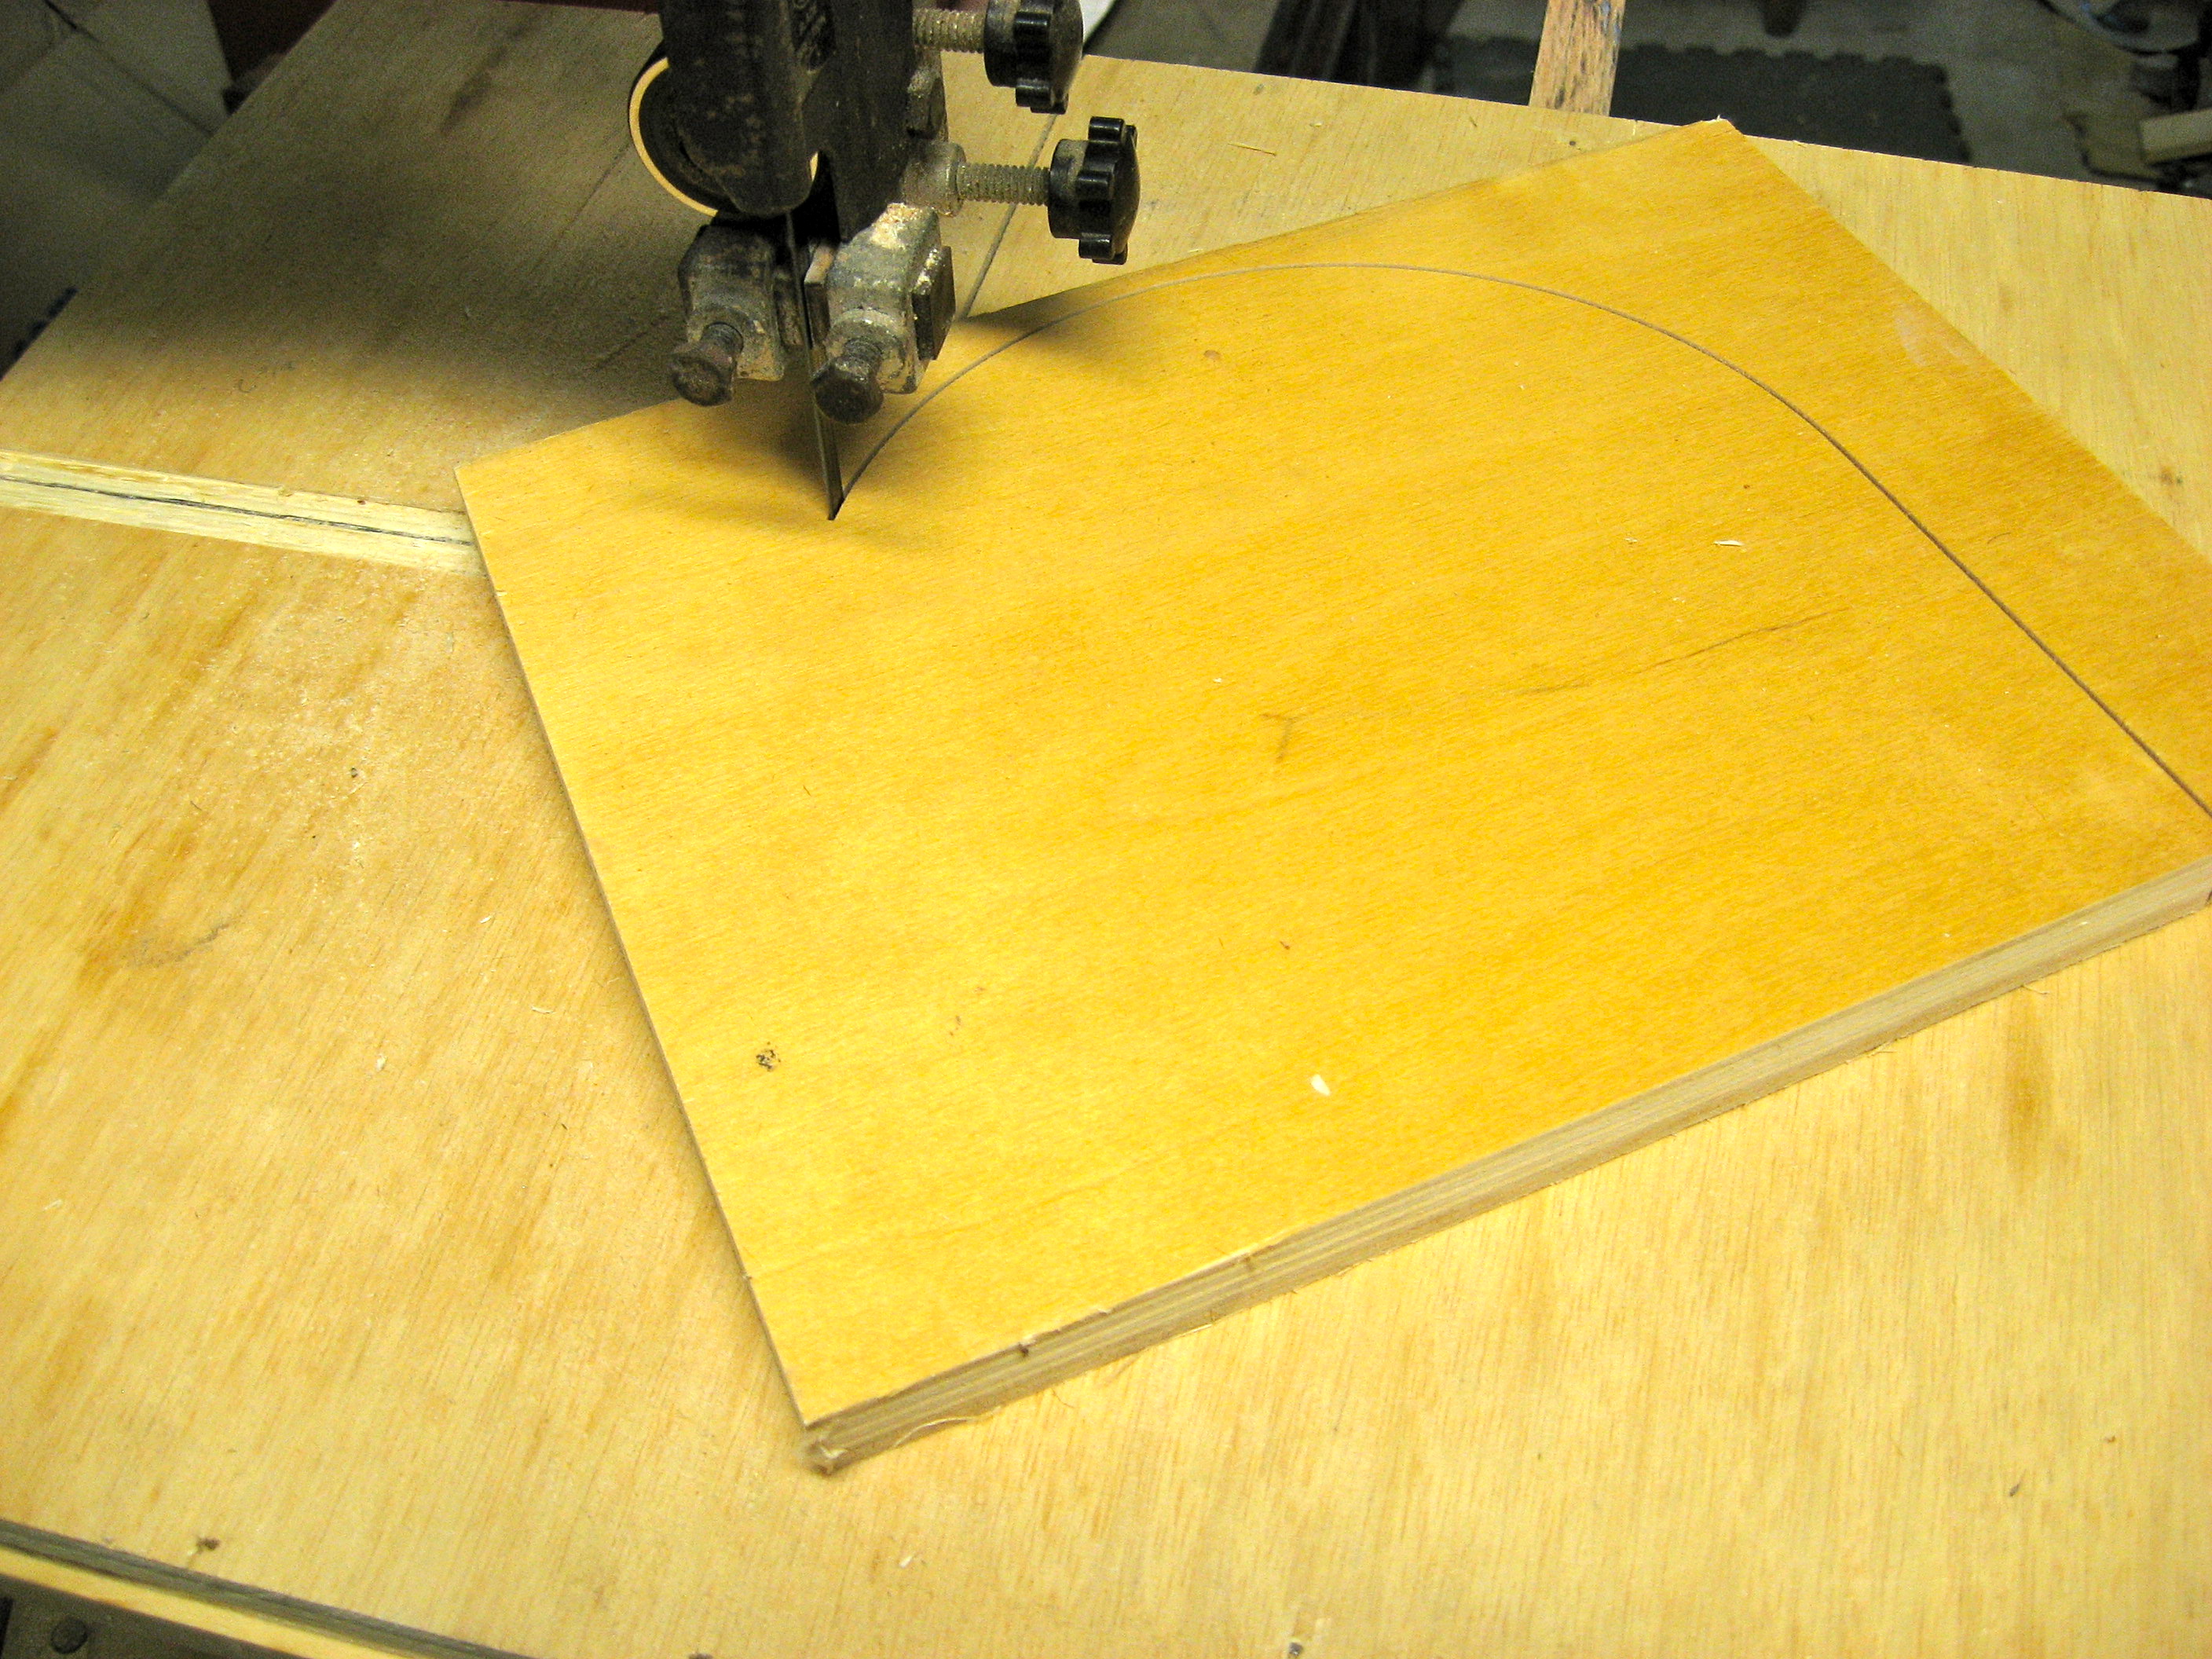
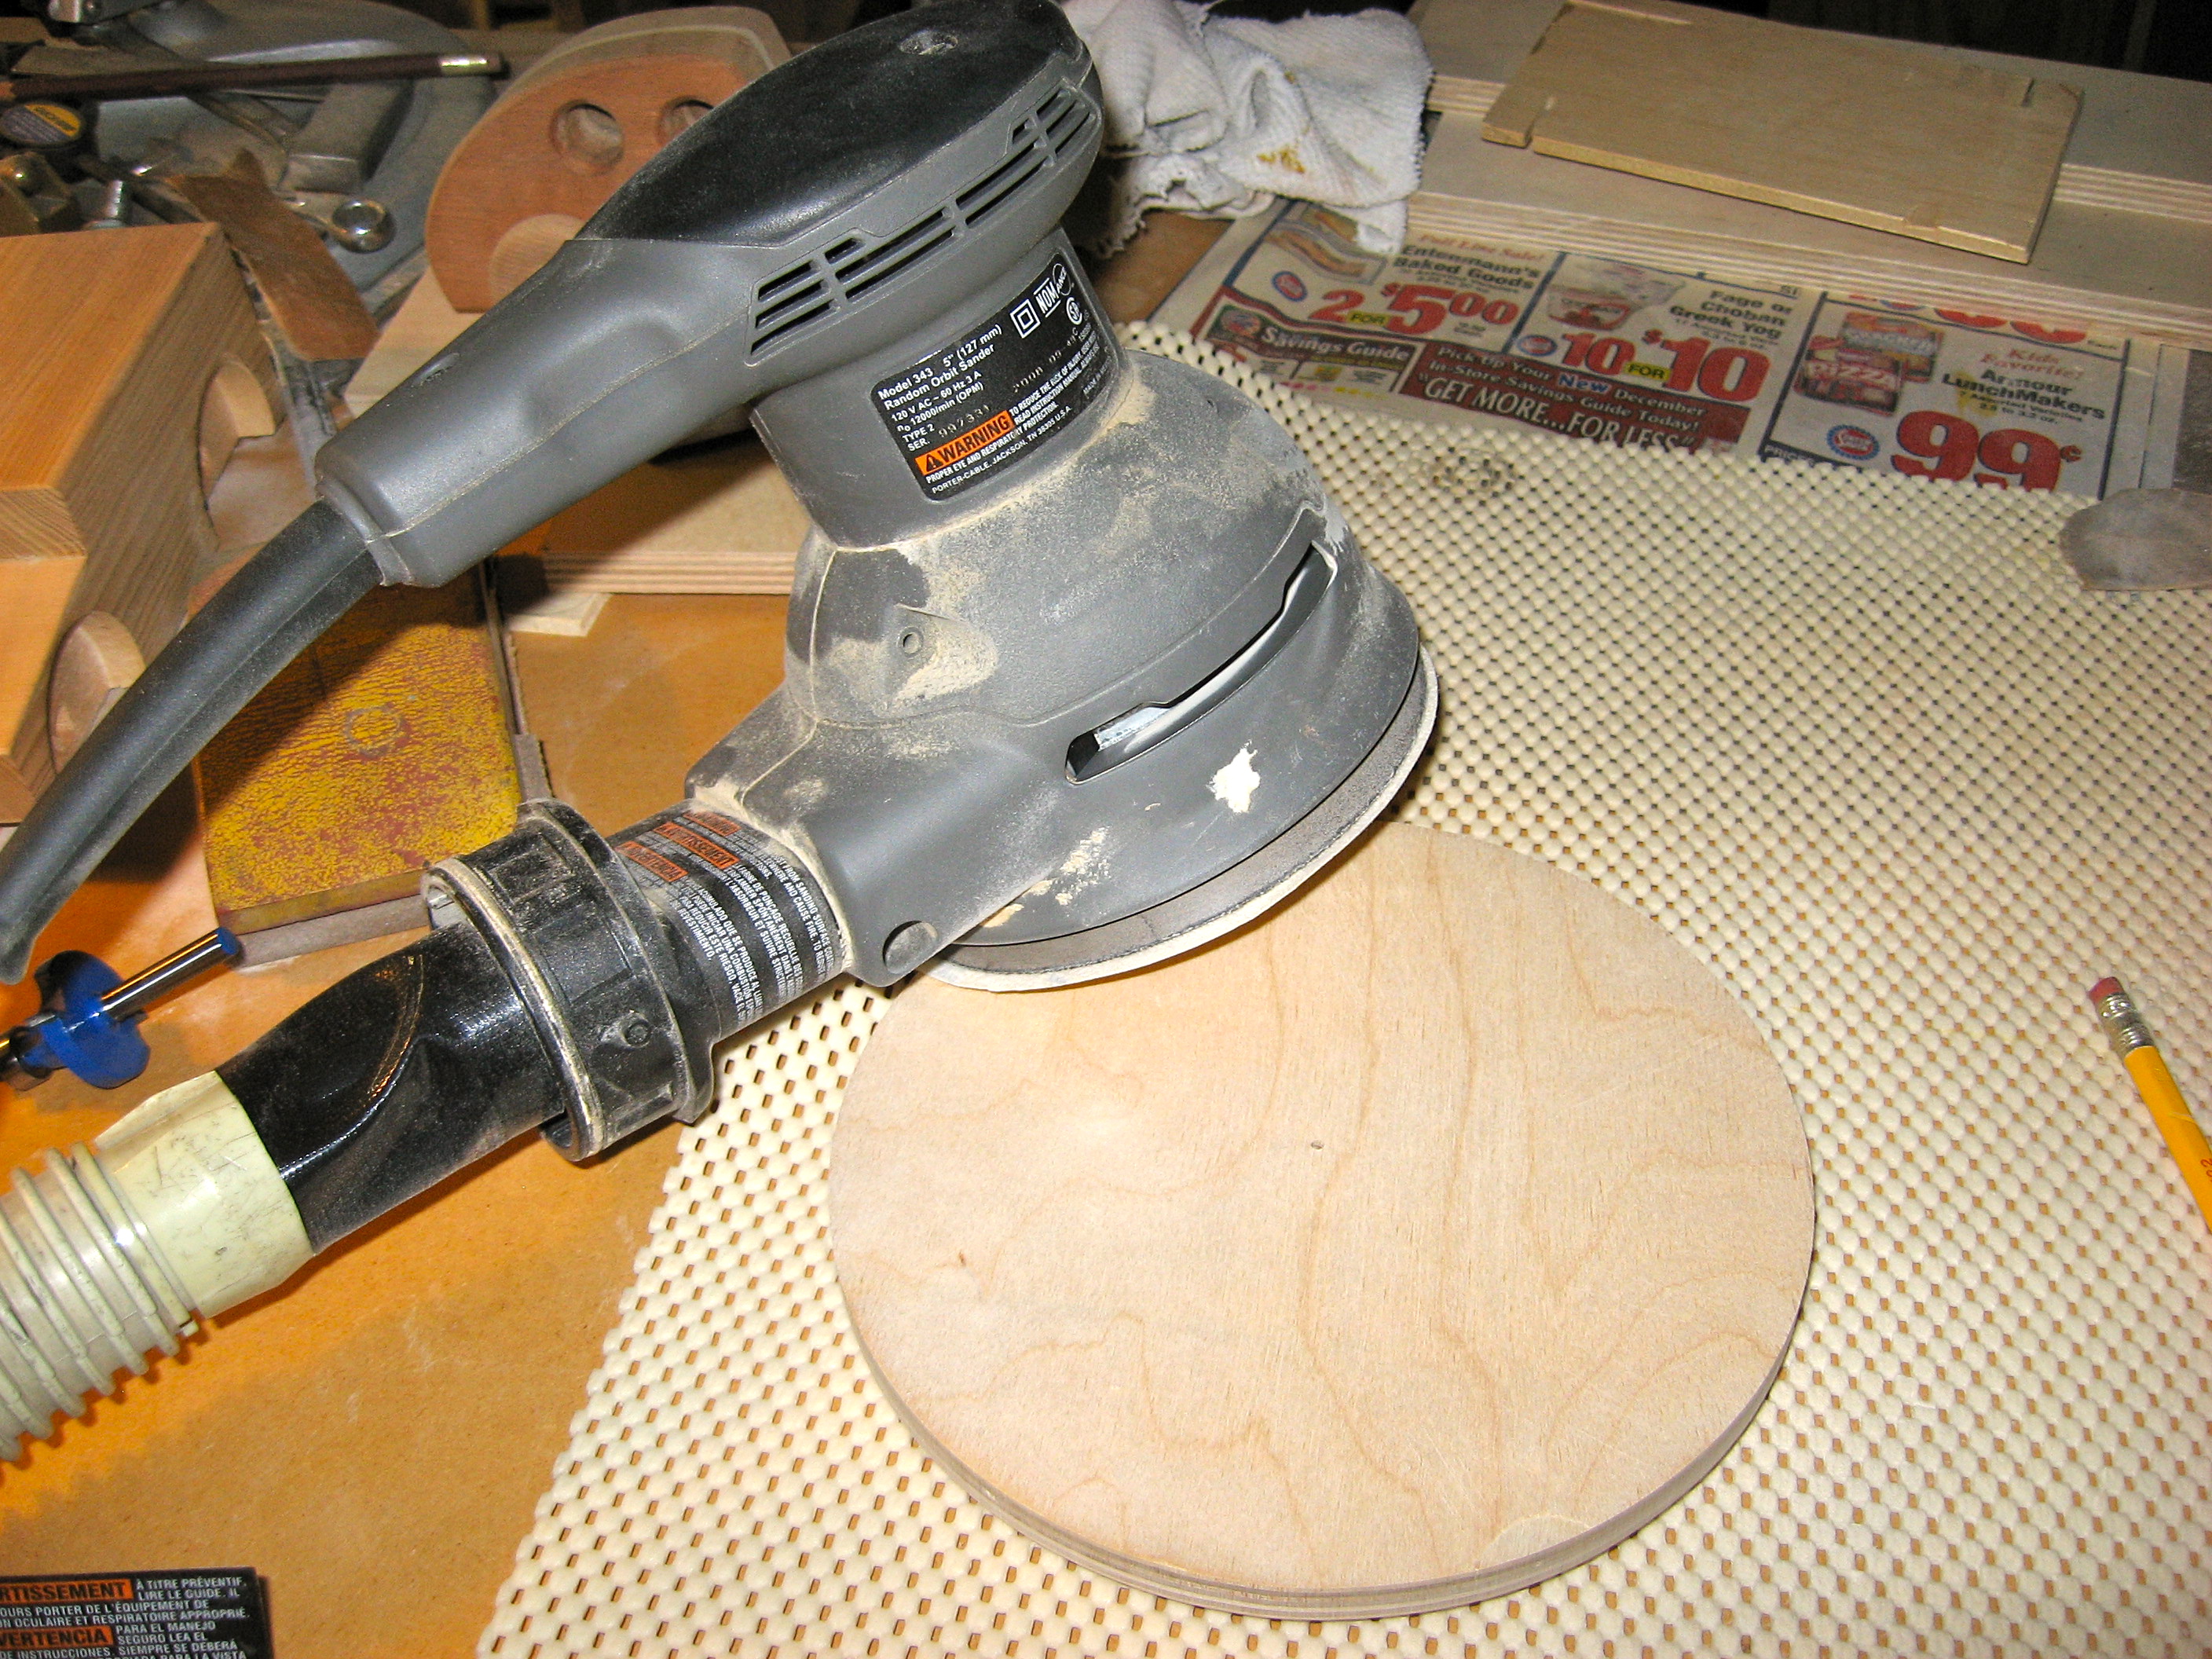
Start by cutting the disks. I have a bandsaw and made a circle cutting jig inspired by one I saw on youtube. You can use a jigsaw, if that is what you have. Easiest on a bandsaw to cut out square blanks to start. With a jigsaw, cut to the circle you have drawn. Mark the center of the circle to make it easier to drill the dowel hole.Circle Cutting Band SawCutting Disk on BandsawBandsaw circle cutting

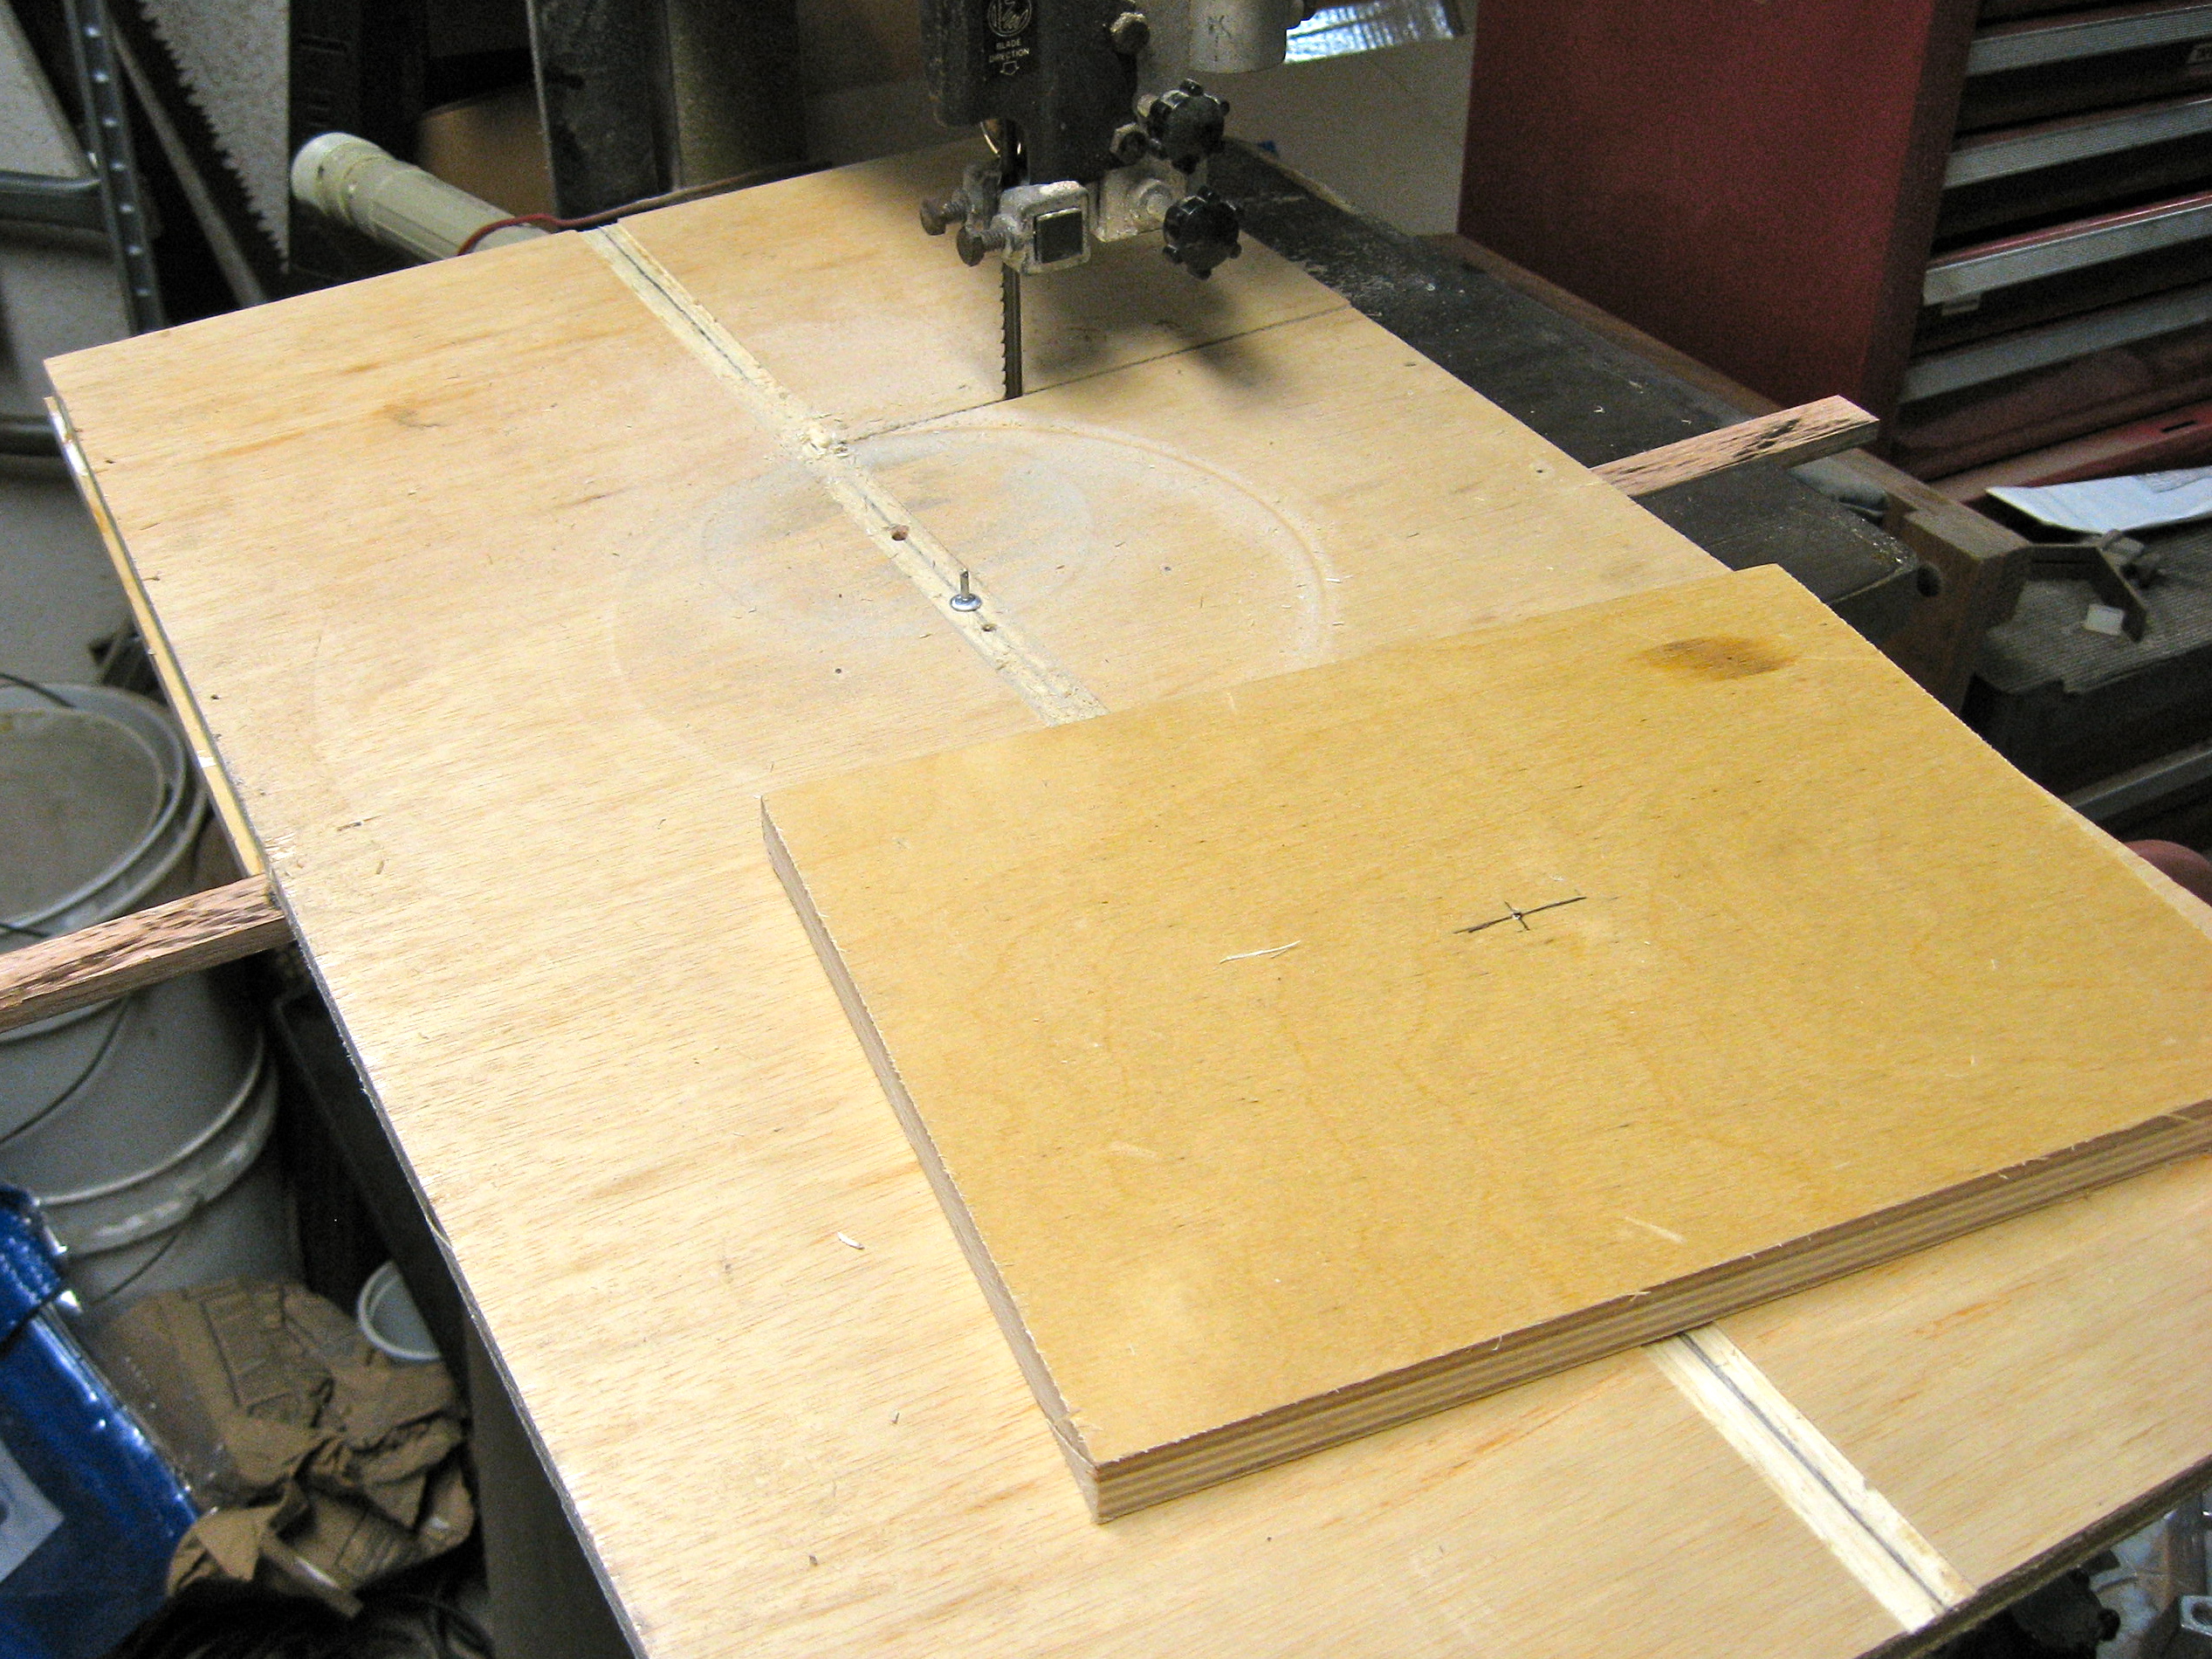
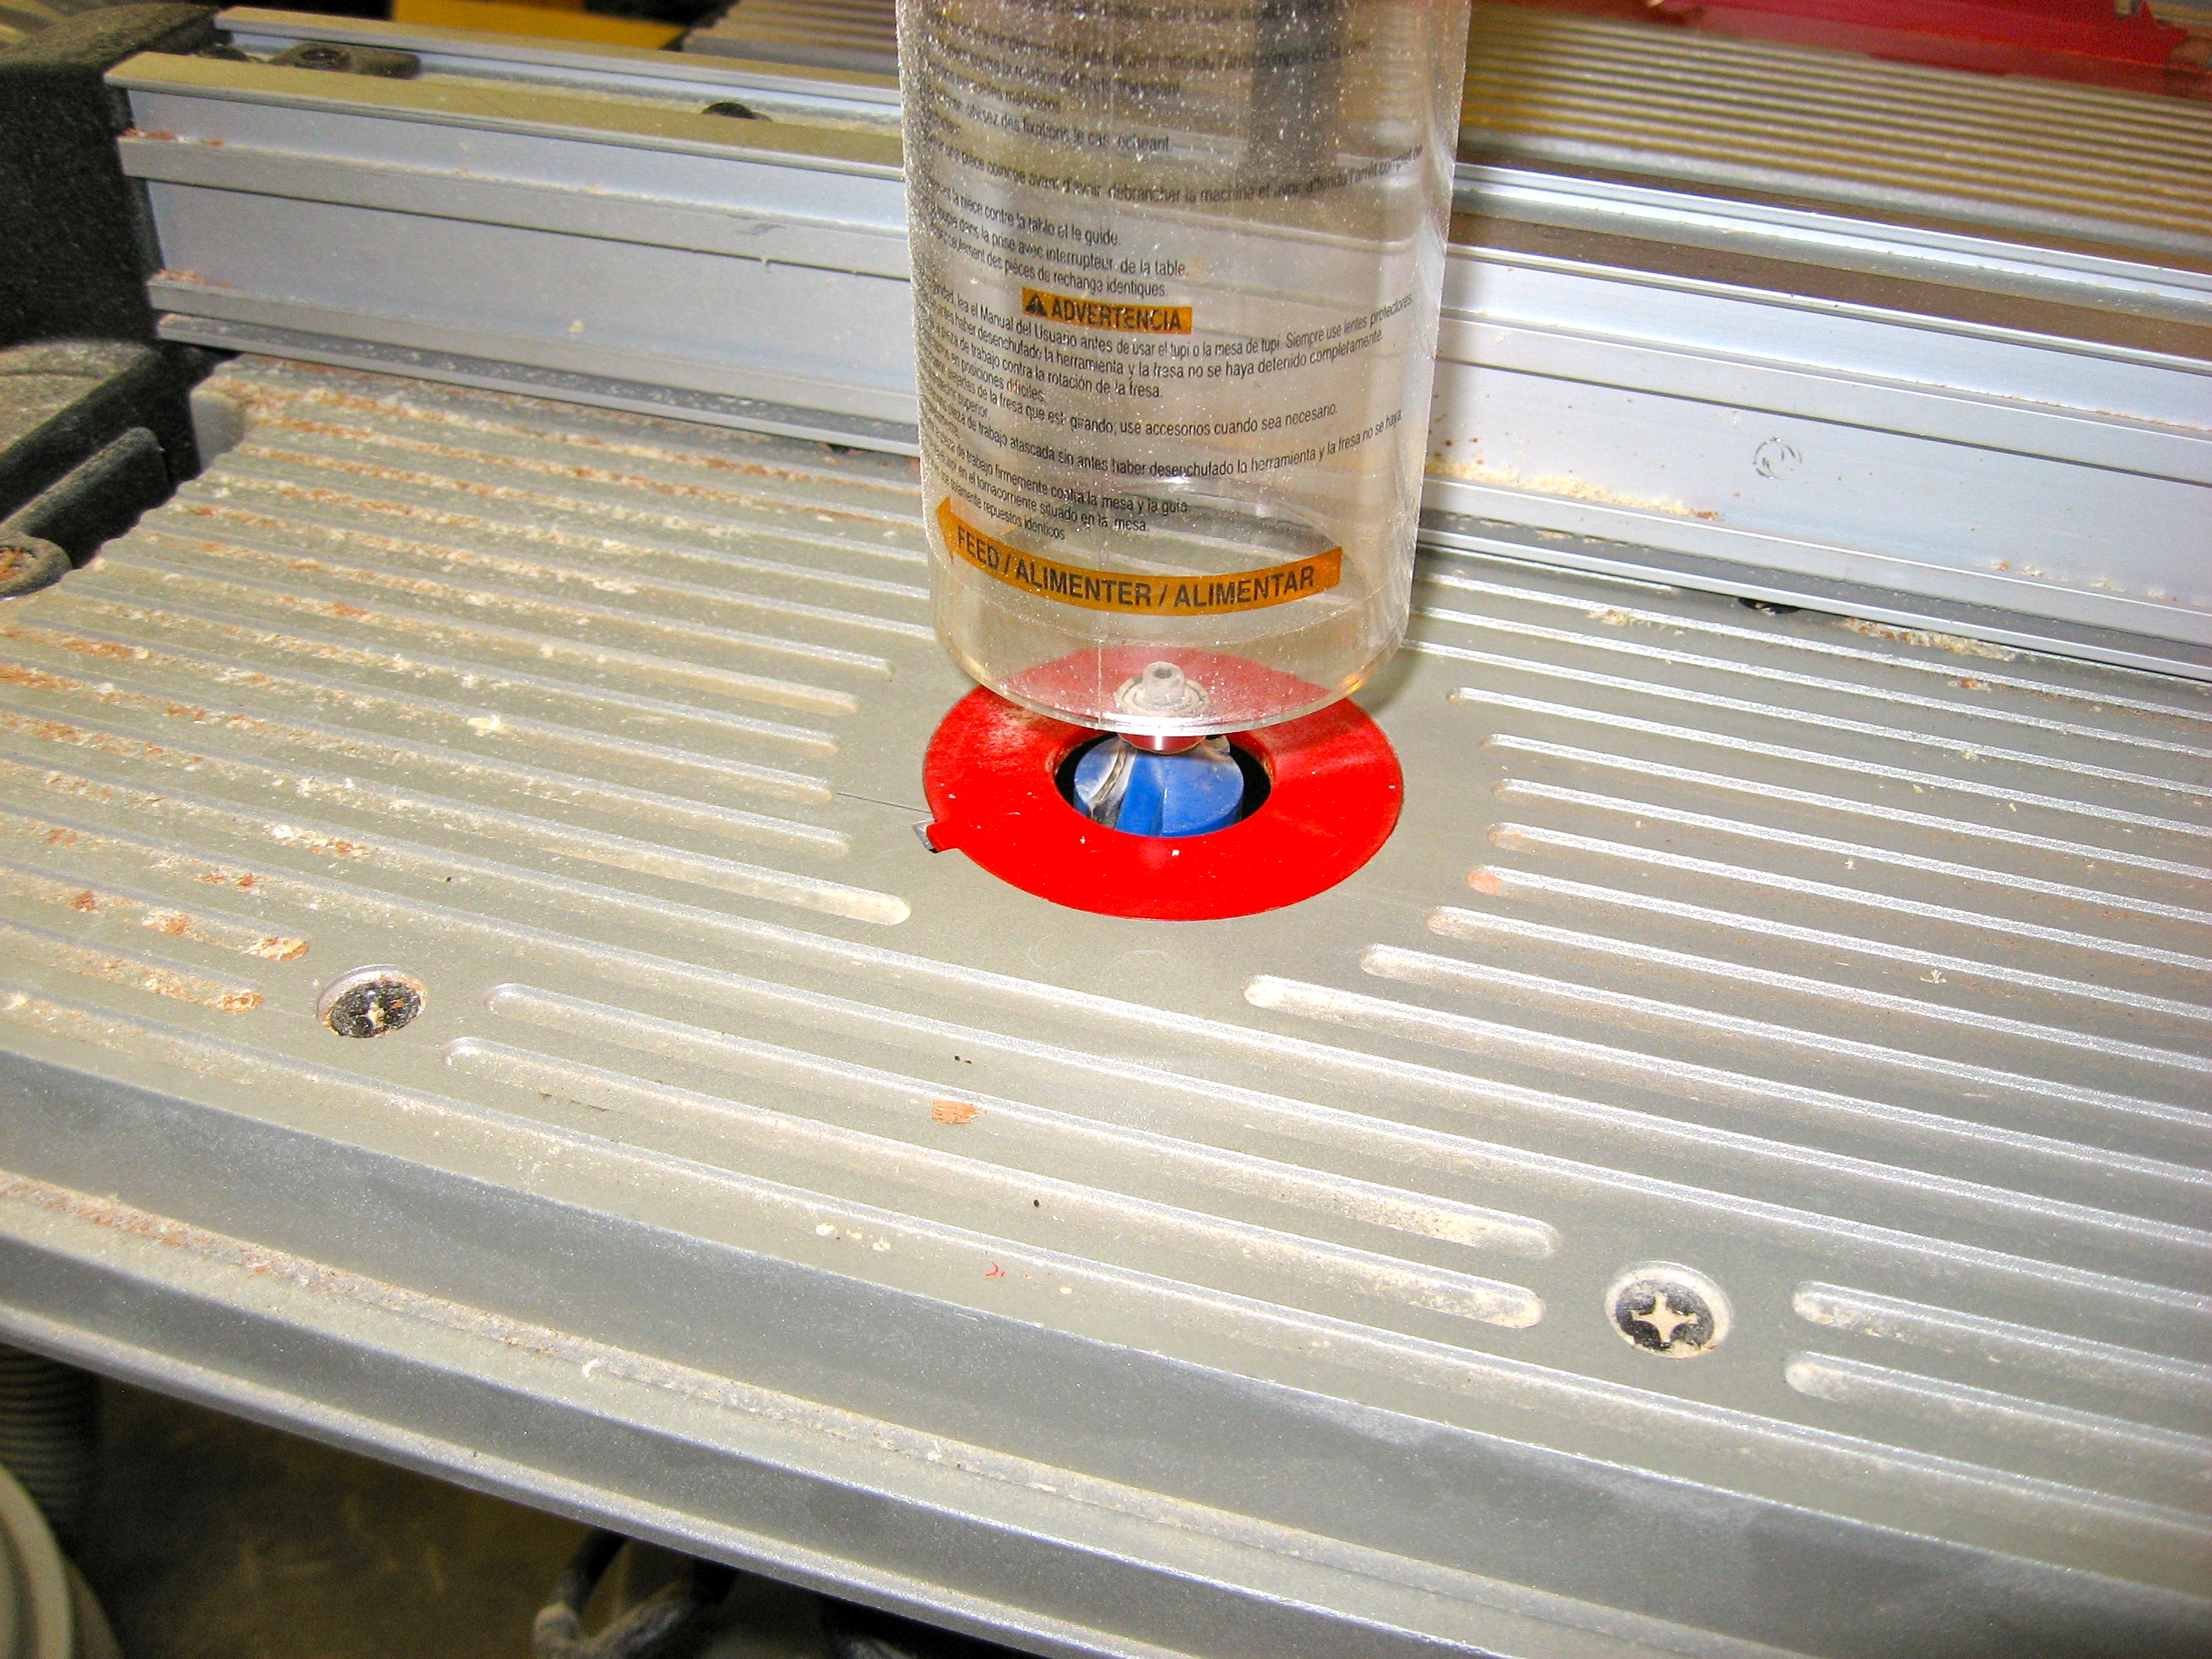
Hopefully the edges are relatively smooth. Use sandpaper to get them smoother. Sand the dowel too.  To round over the edges I used a 1/4″ round over bit in a router mounted in a table. Rounding over both sides. Sand both faces.

Router TableIMG_1351IMG_1353

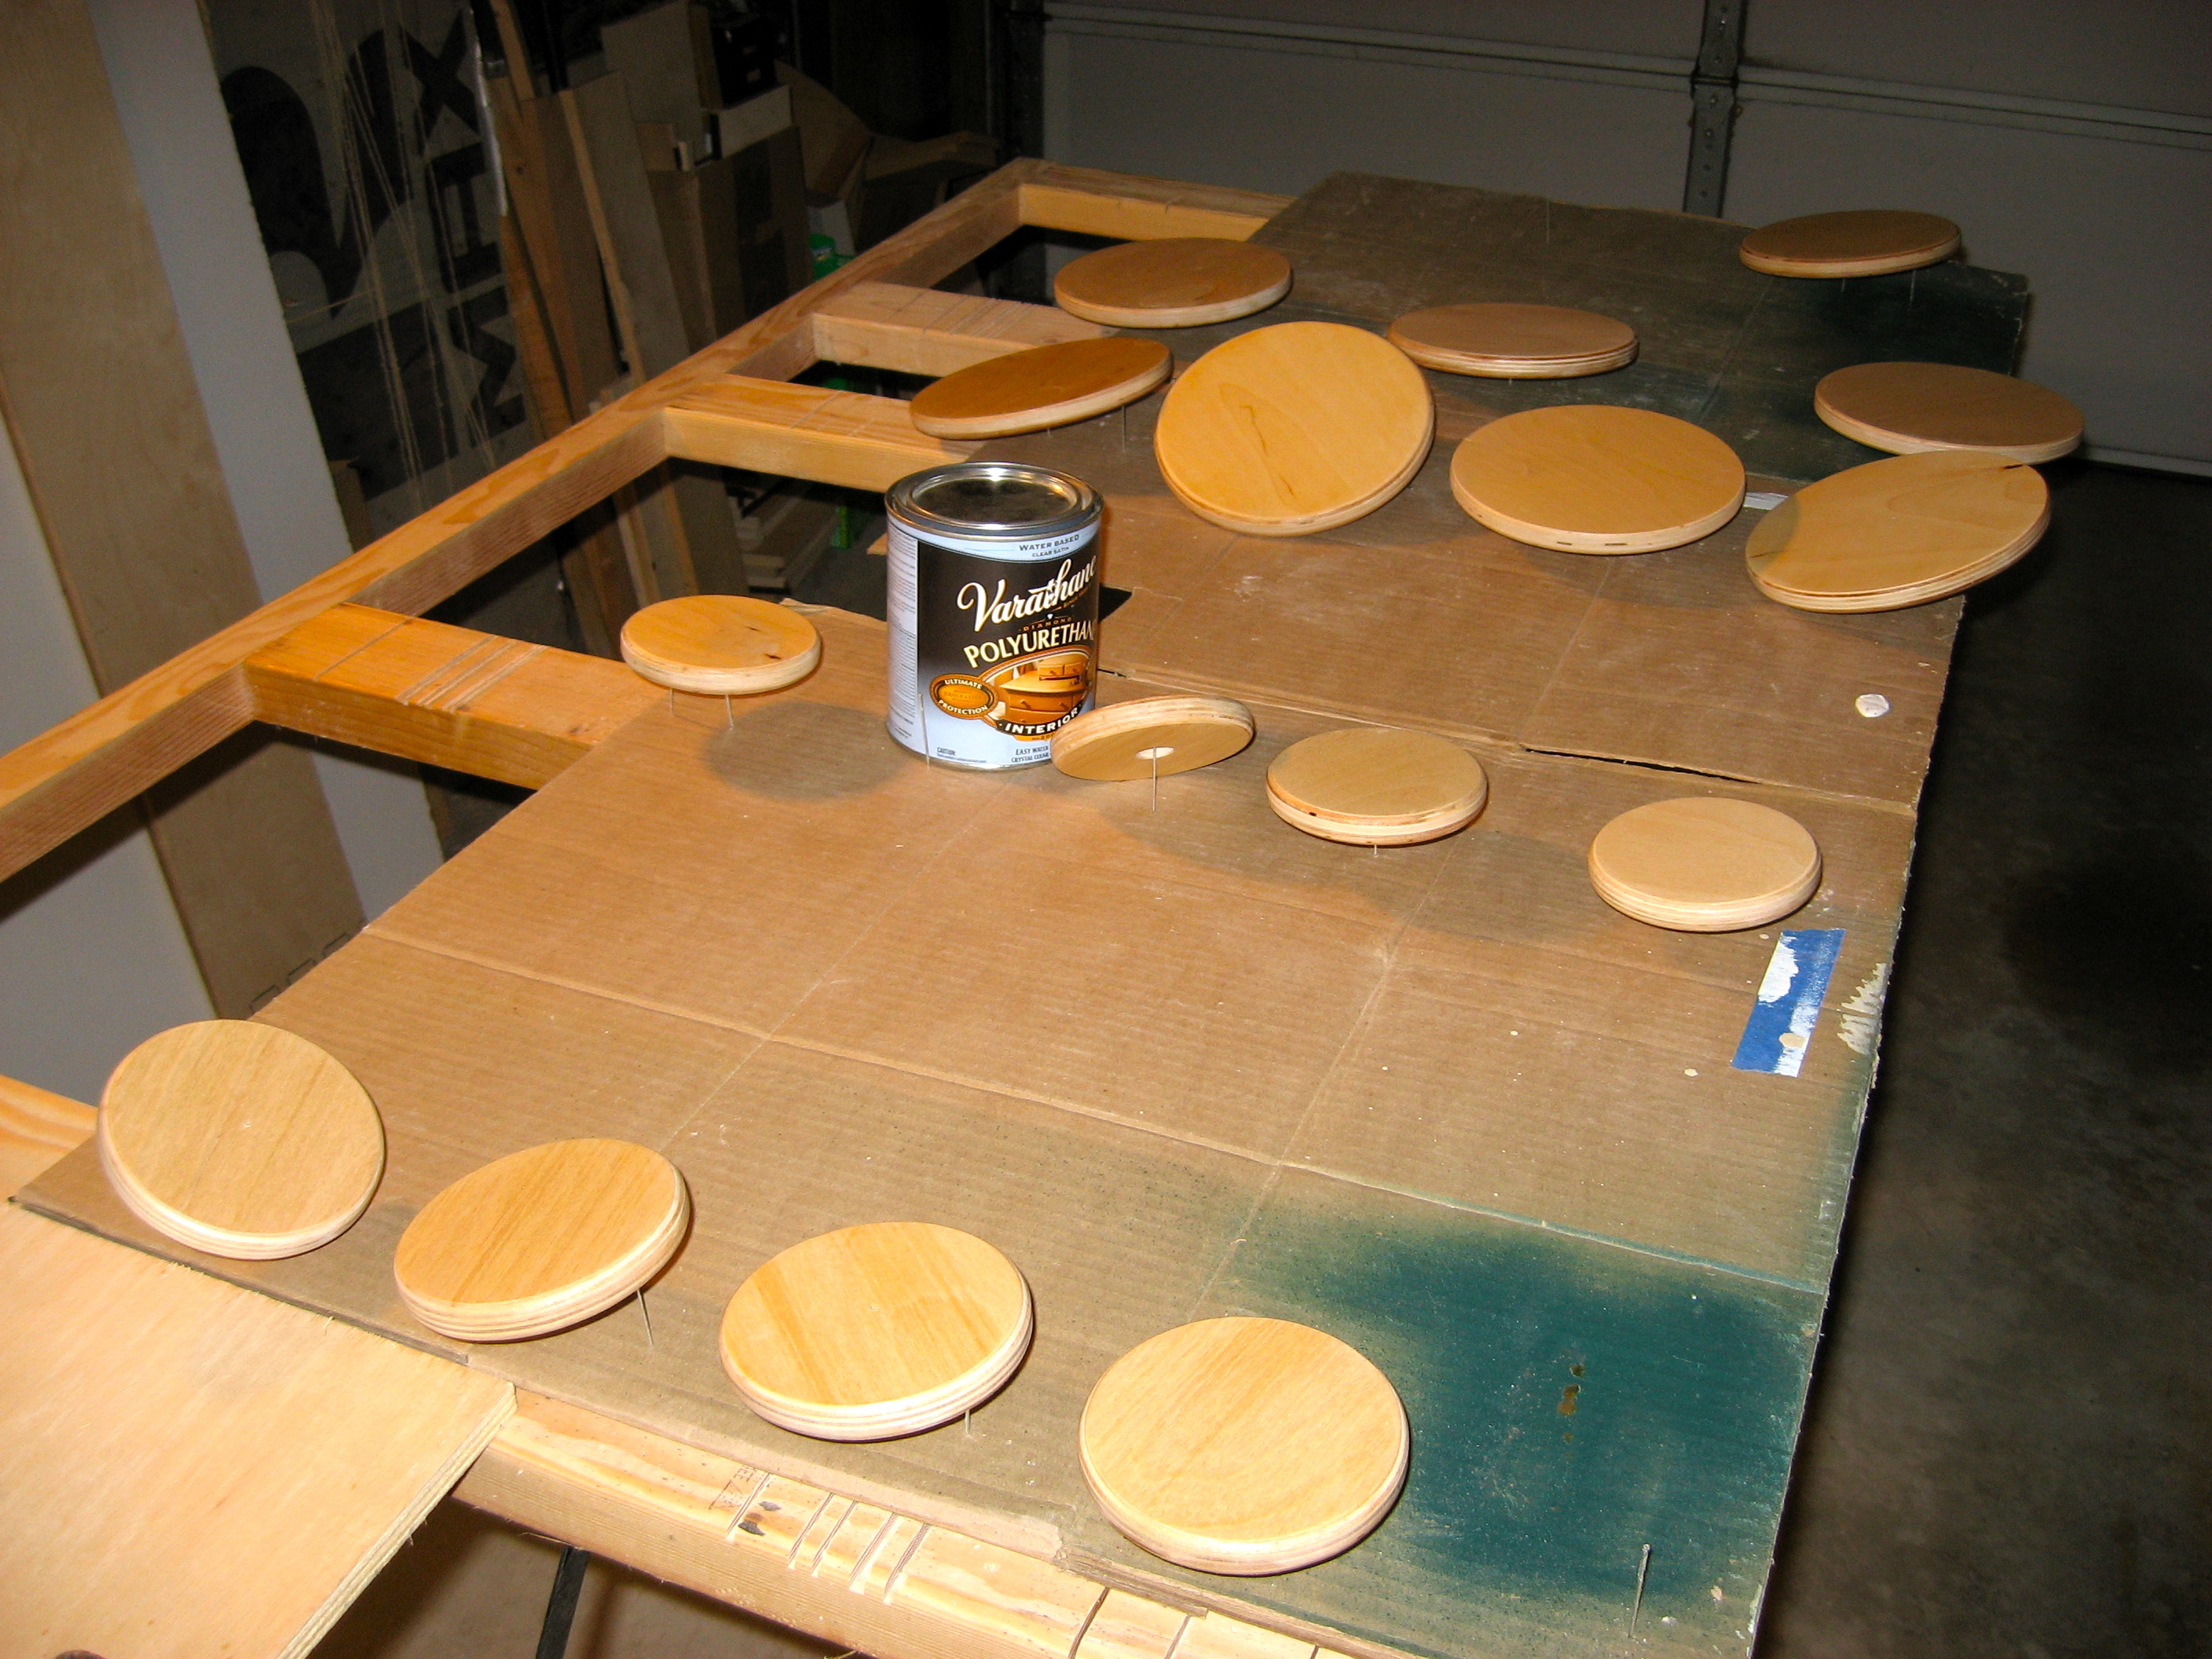
Measure the diameter of the dowel you have. Sometimes they vary. Drill a hole for a snug fit. I used a Forstner bit to make a smooth bottomed hole half way through. You can drill all the way through using a spade bit (cheaper).  I finished them using water based polyurethane taking care not to get it in the holes. Apply the finish to the dowel before cutting it up.

Bases and tops for hat standIMG_1354

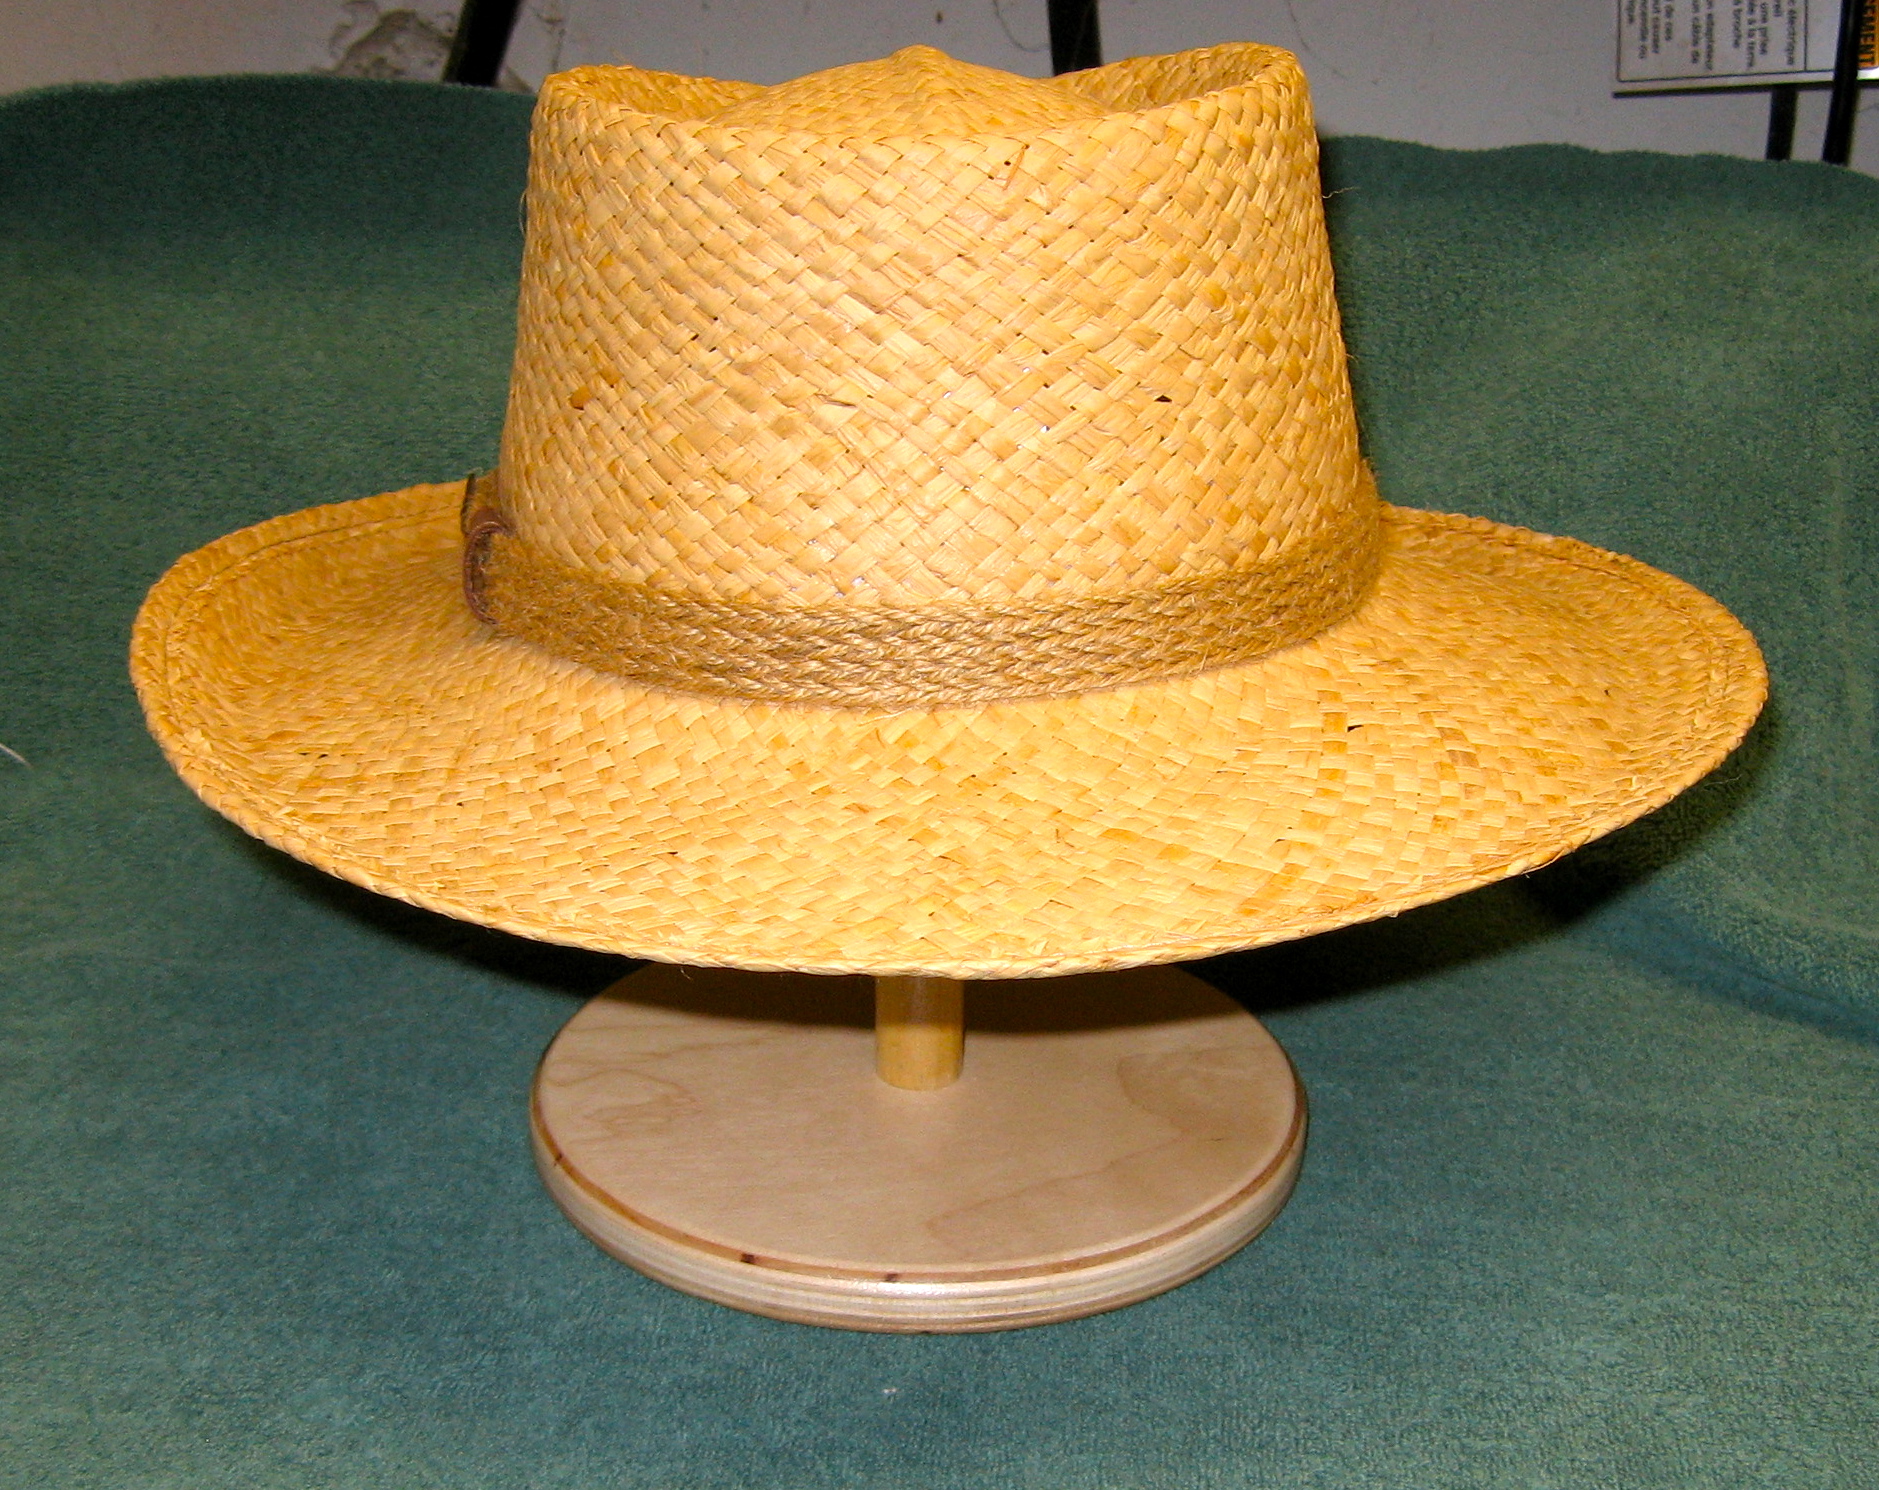
Cut the dowel to the lengths you need. I found a friction fit worked fine. Put your hat on the stand. Smile, because the brim of your fedora is protected.

Hatstand done

Easy to Make Plywood Cutting Table

This is the DIY plywood or sheet goods cutting table I made. Makes cutting plywood easy. I made it some years back based on an article in Fine Woodworking Magazine. August 2000. It is made to support a sheet of plywood while it is being cut down to size with a circular saw. It is made of four 8 foot long 2×4 pieces of lumber and a pair of banquet table legs you can get at amazon.com (affiliate links) 29″BLK FOLDING TABLE LEG (Ebco Tools APF-B)The folding legs make it easy to store when not in use.

This table is sacrificial. This means you actually cut through the plywood into the table. Not too deep! Clamp the sheet of plywood down to the table so it is supported on both sides of the cut. Then use an edge guide to run a circular saw along. The table is 7 feet long, 35″ wide and 31″ tall. You can also use it as a table by putting a piece of plywood on it. I use it as a painting table too. Works great with the Kreg KMA2675 Kreg Rip-Cut.  See my review here.

Plywood Cutting Table
Cutting Table
Plywood Cutting table folded
Cutting table folded

Cut seven- 31 7/8″ pieces for the cross members. By cutting this length, you can get 3 pieces out of each 8 foot length. For the seven foot sides, either use 2x2s or split one of the 2x4s lengthwise. Put cross members at each end and one in the center. Put a cross member 15″ in from each end. This will be the leg support. The remaining two cross members will be the leg lock supports. You will have to determine the position of this by experimenting. Temporarily screw or clamp it until you make sure the legs fold down all the way and lock vertically too. I messed up on this and had to reposition the board. The leg locks hinge towards the top. You pull down on them to lock them. Also make sure you offset the legs a little, so when they fold closed, they do not hit each other.

This table is not a full 4’x8′ like a sheet of plywood, because you only need to support where you are cutting. Use the cross members and sides to clamp to. By keeping the table smaller you can move and store it easier.