Demonstrating Woodworking to Cub Scouts

Cubs in the shop

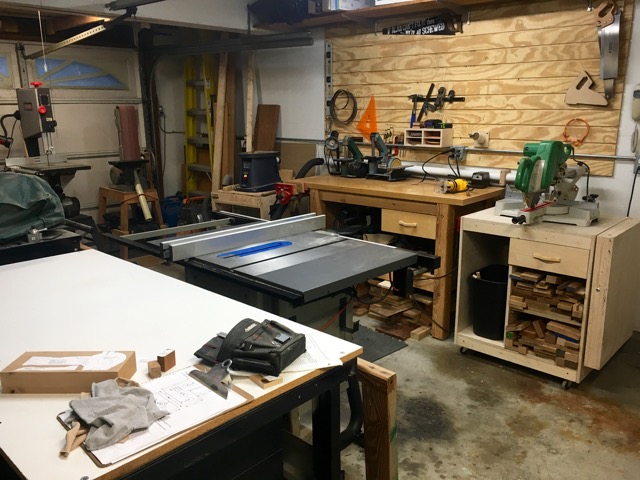
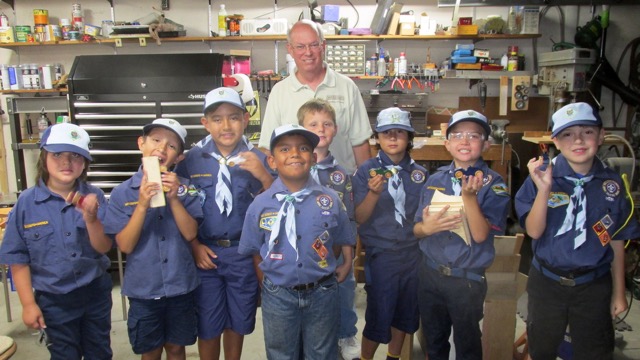
Demonstrating woodworking to Cub Scouts. My woodworking group was contacted by the Den Leader of a Cub Scout Pack . She said the Cubs would be learning about woodworking and it would be nice if someone could demonstrate woodworking to the kids. I volunteered my garage workshop. They meet just 5 minutes from my home.

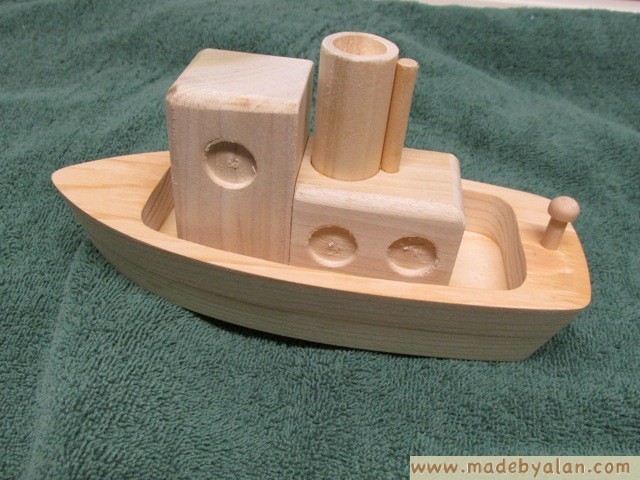
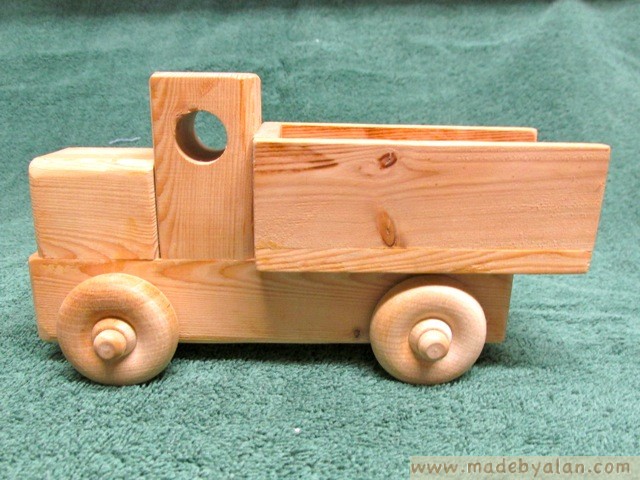
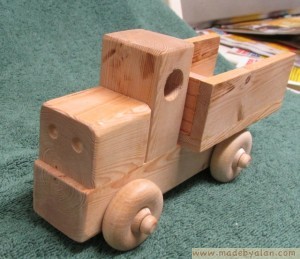
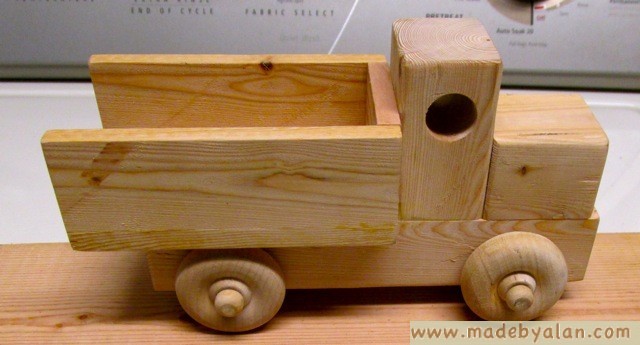
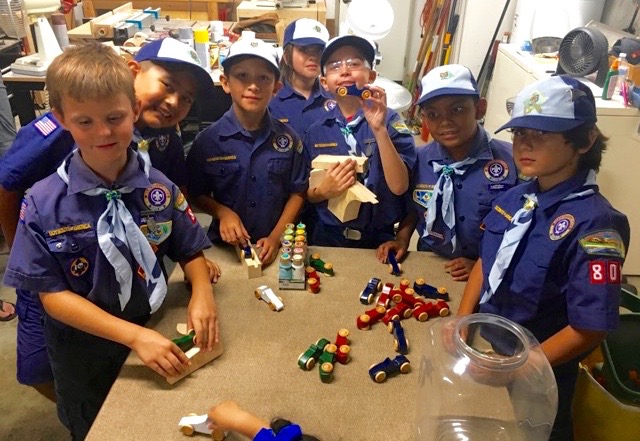
On the arranged evening, the cubs came by with their parents and I told them something about woodworking. What you can teach an 8/9 year old in 40 minutes is limited. What they were most interested in was the toys I had made (no surprise).

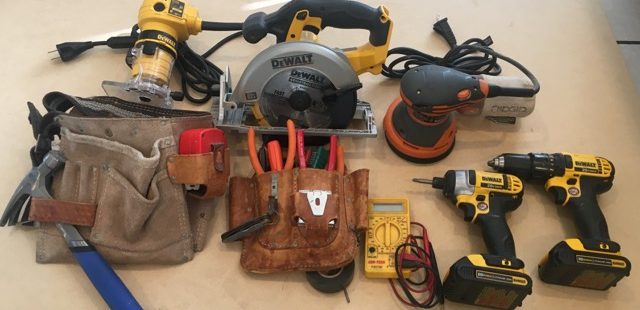
We did talk about Safety, Finishes, and Different types of woods. Highlights were: Some simple tools they can have in their toolbox. I told them that Shellac was made from the spit of the Lac Beetle and they were holding it (did you know that?).

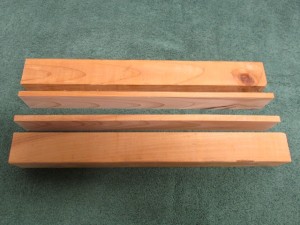
There are many types of hardwoods. I had them lift and look at different types including oak, walnut, maple, mahogany, purple heart and teak. We agreed that teak is the heaviest and sinks in water. Sanding is important to get wood smooth. I had them use different grits of sandpaper and feel the results.

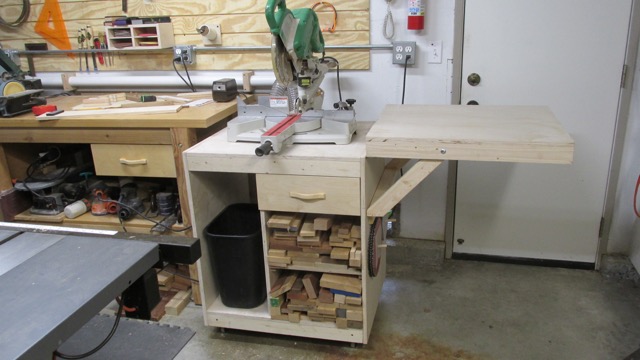
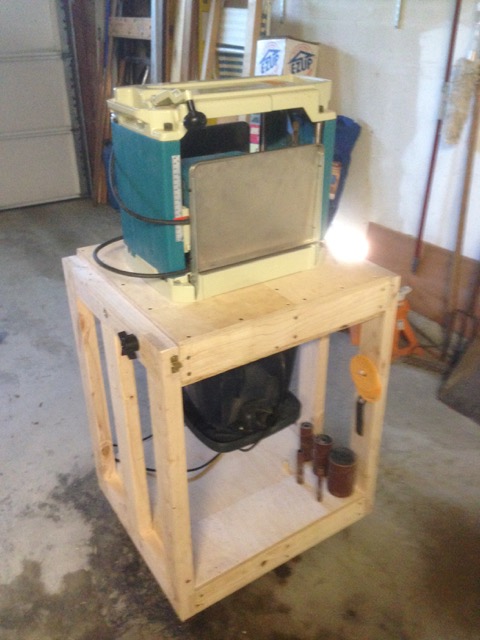
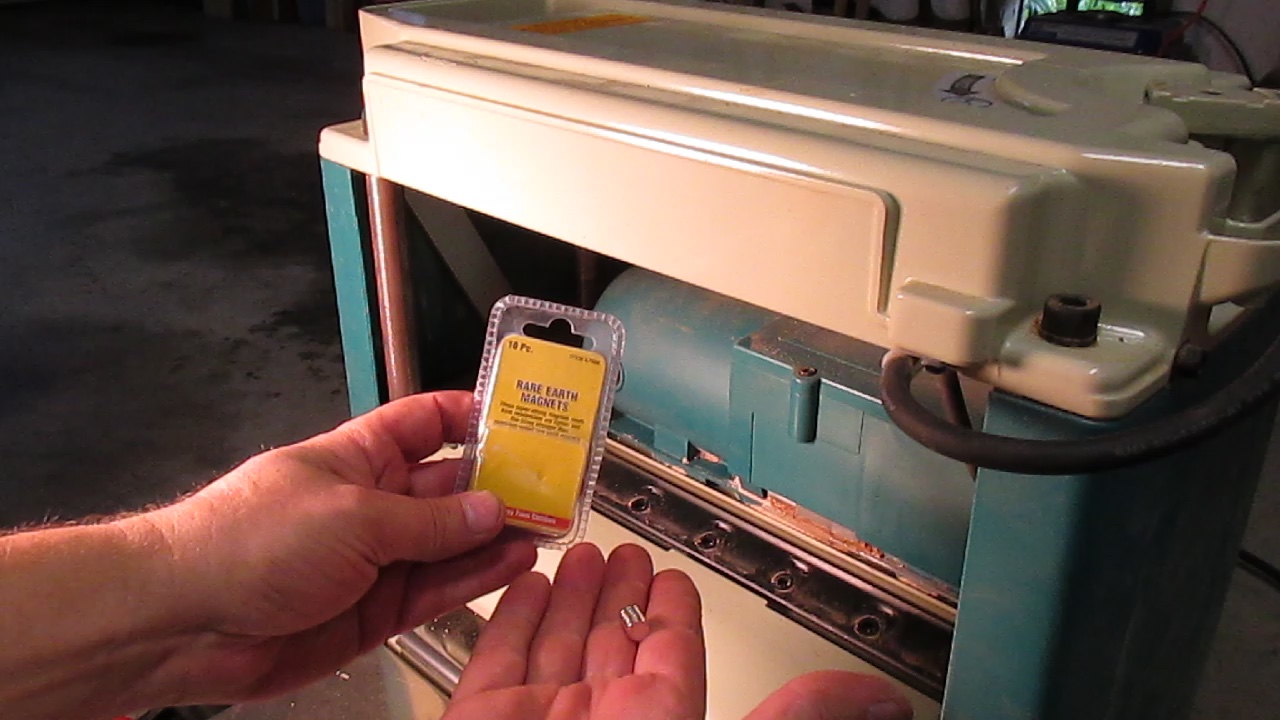
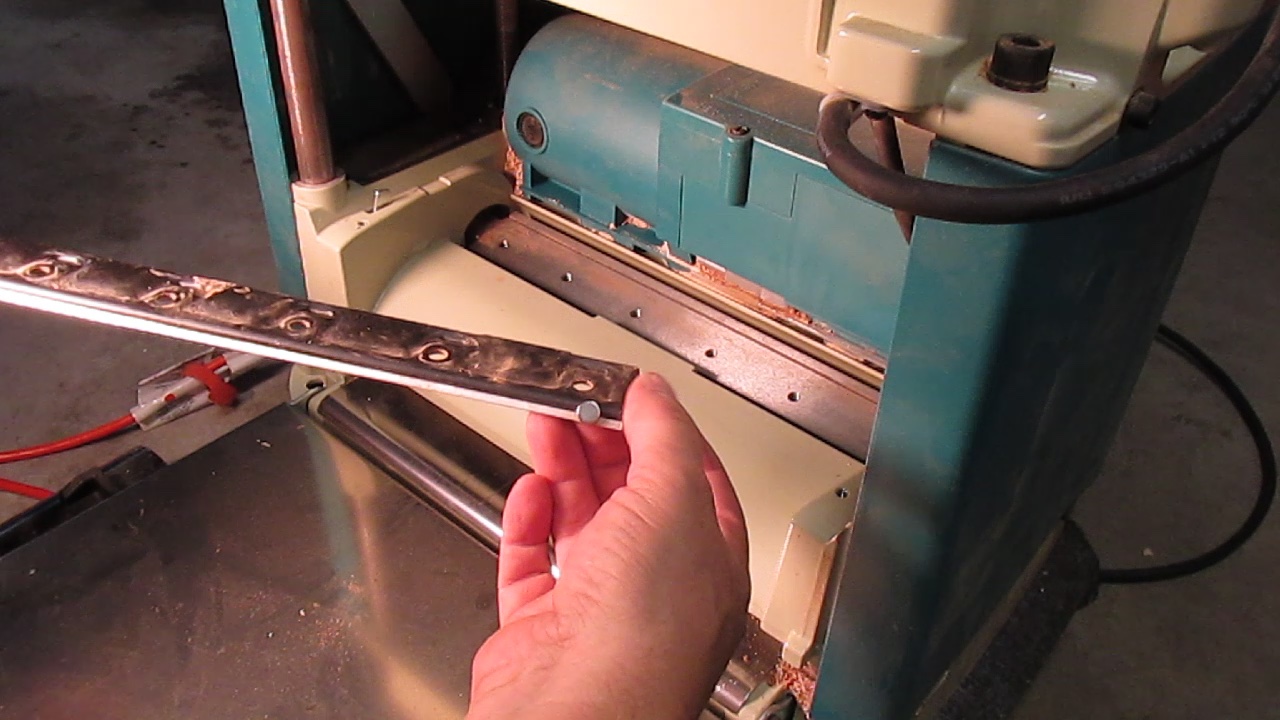
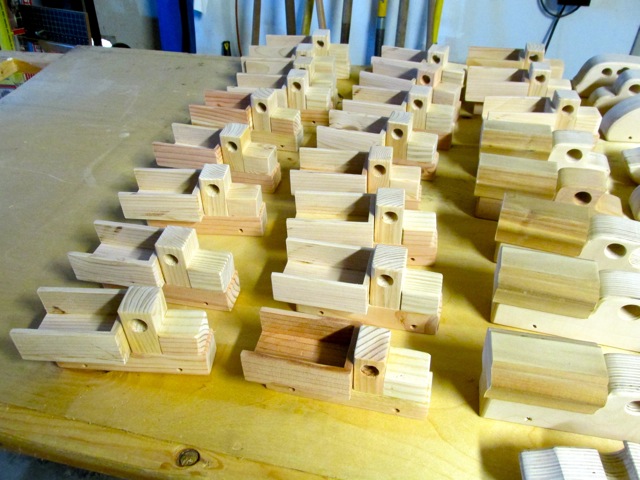
I did give them a brief overview of big power tools. Some of them wanted the scraps from my bandsaw saw cutoffs. They said they wanted to make something from them. The Den Leader told me later one of the boys made a castle with them. Made my heart glad. Future woodworkers for sure! I gave each cub a pocket car as a memento of their visit.

Cubs received small pocket cars.

I enjoyed having the cubs over and hope they got a glimpse of something they may like to do in the future.  I think with the lack of shop classes in schools, it is important for us woodworkers to share our hobby. Cub scouts can become future woodworkers.

My Very Useful Wood Shop

Shop in single bay

Putting a woodworking shop in a smaller space. After putting it off for years, I finally started to redo my garage shop 6 months ago. It started with the construction of a large shelving unit and getting rid of a lot of unused junk. This opened up the space needed. I do have the luxury of a three car garage, but I like to pull a vehicle into it. The picture makes it look larger than it is.

Shelving Unit to free up space

Putting the wood shop into the smaller section worked out well. It is just a couple steps to each power tool. I use a shop vac for dust collection. Having a smaller area allows stretching a hose to a tool without moving the vac. This was wasting a lot of my time previously. I made stands for all my big tools. It is great not having to set up tools to use them. If it is hard to use the shop, I will put it off.

Here are some things that I have found useful in my shop:

Using a cyclone dust collector before my shop vac keeps the filter bag clean and suction strong. I haven’t had to change a bag in years. The Oneida Dust Deputy is the one I use.

Using rubber mats from Harbor Freight to stand on for long periods helps stop my knees and hips from aching. Especially when sanding for long periods

Putting a sheet of wood siding on the wall lets me put a screw anywhere to hang stuff. Very useful. Drywall is too fragile to hang tools from.

LED light fixtures are bright and use half the power of florescent. A pull string switch is a must for me. I can just turn on the ones needed.

Have a table the same height as the table saw so it can be used both as an out feed and assembly table. 

Mitre Saw same height as workbench

Put everything on wheels so rearranging is easy.

Build a shelving unit sized to take totes for organization.

Flip Table

Make flip tables to fit two tools into one space. I have a thickness planer and spindle sander mounted on one.

Get Woodworking Ideas on the Internet

Get woodworking ideas on the internet. I did a demonstration at the Woodworkers of Whittier meeting, showing the usefulness of the internet for the woodworker. It is a great research tool for finding out information. I covered three ways to use it:

Get Ideas, Learn Techniques and Get Information on ToolsToy wood tugboat

Google is the best known way to find information on the internet. What many people don’t know, is that when you do a search, it will also do an image search. Recently I wanted ideas for a toy tugboat. By doing a Google search I got pictures of toy tugboats. Click on the picture and you can get more information . Another popular way to see pictures of woodworking projects, is to go to www.pinterest.com . This is a site where people put together collection of pictures they like from the internet. This is called “pinning”. These collections have themes. One collection I have is “Things I want to make”. You can see other peoples collections and search them.

www.youtube.com is an excellent place to learn woodworking techniques and get ideas. There are probably a million videos there. Some are great and some lousy. Here are a few of the people I follow. Steve Ramsey (does wood projects weekly, John Heisz, Mathias Wandel, The Wood Whisperer, April Wilkerson and Izzy Swan. Most of these people also have associated websites where they post plans. I find if I need a jig for my workshop, doing a search on Youtube finds me someone who has already made one.

The woodworking magazines have websites and Facebook pages where they post free tips, plans and videos. Wood Magazine is a good one. Woodworkers Guild of America often posts free short videos.

Before buying a tool, do a google search for reviews. It will lead you to websites with information on that tool. Also go to www.amazon.com and look up a tool. Even if you don’t buy it there, looking at the reviews is most helpful.

If you have and old tool without an owners manual, do a google search with the make and model number. You can often find a site that has a free manual in pdf format that you can download for free. Craftsman is really good about this.

So, use the internet to help in your woodworking endeavors.

Makita 2012NB Planer Blade Change

Makita 2012NB Planer Blade Change- How to change or flip the blades on a Makita 2012NB Planer using rare earth magnets to hold the blade. I bought this planer used and did not have the tools or manual for replacing the blades (knives). Makita gives you a magnetic blade holder, but I did not have that. Turns out it is easy using small rare earth magnets from Harbor Freight  to hold the blades in place and install them.

Here is a good deal on blades for almost half the price of Makita  on Amazon Powertec Blades. Watch my youtube video above to see how I did it. The blades are 2 sided  so often you can just flip them.

Makita 2012NB Magnet Blade Change
Makita 2012NB Blade Change using magnet

Wood Toy Cars and Trucks for Charity

Wood toy cars and trucks for christmas charity

Making toys for charity using scrap wood. Here are the 50 wood toy cars and trucks I made for Christmas charities this year. There are seven different types. I do different ones so I don’t get bored. Using a router table to round the edges is what gives the toys a finished look. Many are made by gluing baltic birch plywood together to get the desired thickness. Our club, Woodworkers of Whittier, gets scraps donated, so it is a good way to use them. Here is another post I did on making them Making Toy Cars. The club buys the wheels Here is a good place to buy wooden wheels and shapes in quantity california dowel. A hint- when drilling the 7/32nd inch axel holes, drill both holes from the same side all the way through. This keeps the wheels in the same plane, even if you end up drilling at a slight angle. If you don’t, all wheels may not touch the ground.

wood toy trucks for charity

Here are the trucks I made from common 2×4 pine. You do have to rip a lot of 1/4″ thick slats for the beds of the trucks. Here is the post showing the plans for this simple wood toy truck.


Build a Simple Toy Truck

Wood toy truck

This is how to build a simple wood toy truck made from a common 2×4 wood “framing stud”. Also can be made from scrap wood, the free Plans are included below. You find 2×4 framing lumber at any home center. Make sure you get the kiln dried (KD) one and check for straightness, the edges are not damaged, and looking at the end it is not “crowned” or it will make it impossible to cut straight pieces.

Left one is straight Right one is bowed
Left one is straight Right one is crowned
Wood pieces

The wheels are 1 1/2″ birch store bought wheels with 1/4″ axles.You can get them at a craft store. I find them in bulk cheaper on ebay, Don’t forget the axel pegs. You will need a table saw or band saw to rip the pieces.  If you use a table saw with a 1/8th” thick blade, you can get 2 trucks from a 20″ long piece of wood. Rip a 1 1/4″ wide piece. Move the fence 3/8″ closer to the blade and rip a 1/4″ piece and repeat. Now you have the ripped pieces for 2 trucks. See plans for dimensions of cross cuts.

Sanding is very important to end up with a nice result. This is easiest to do before assembly, I usually end using 120-150 grit. . It is important the wheel axel holes are not mounted too high or the wheels will rub the bed. Drill them all the way through.Get children involved. The truck is just glued together. A child could sand a little, help clamp the pieces, tap in the wheel axels. Have fun with it. Please email pics of ones you make, especially if they are modified. I build these for my woodworkers group charity build.
simple wood toy trucksimple wood toy truck

Simple Strong Woodworking Workbench

Simple strong workbenchA couple years ago I was searching the web to find plans for a simple, strong woodworking workbench. I didn’t need a fancy one made out of maple. Just one that was sturdy with a good woodworking vise. I found one on the Fine Woodworking website with free plans! Here is the web page workbench.

It is different in that it is held together with threaded rod that run the entire length of the table. This makes it real stable. It is made of 2x4s and 4x4s. Even when they call them Kiln Dried at the local big box home center, the wood still shrinks. When this happens, just tighten the nuts on the threaded rods. It can also be disassembled if necessary. Find the straightest wood you can.

I only changed one thing when building it, using pocket holes instead of clips to hold the top on. I also put “peg board’ on the ends to hold tools. The top and shelf are made of MDF finished with polyurethane. Cut it outside as it the dust is bad and it also is a pain to bore holes in. It took me a couple hours to bore the holes in the top. I think it is made of layers of compressed paper. A simple spade bit worked best.

pocket holes workbench top

pocket holes

Having a good woodworking vise is a pleasure. It holds things so secure. This is a 7″ vise made by Jet. The workbench was made the same height as my table saw to act as an out-feed table. 2 years go by and it shrank in height 3/4″. I had to add leg levelers to it.

leg leveler

leg leveler

This has been a great workbench! It is a good idea when you make a workbench to take a picture of it. It will never be that clean again.