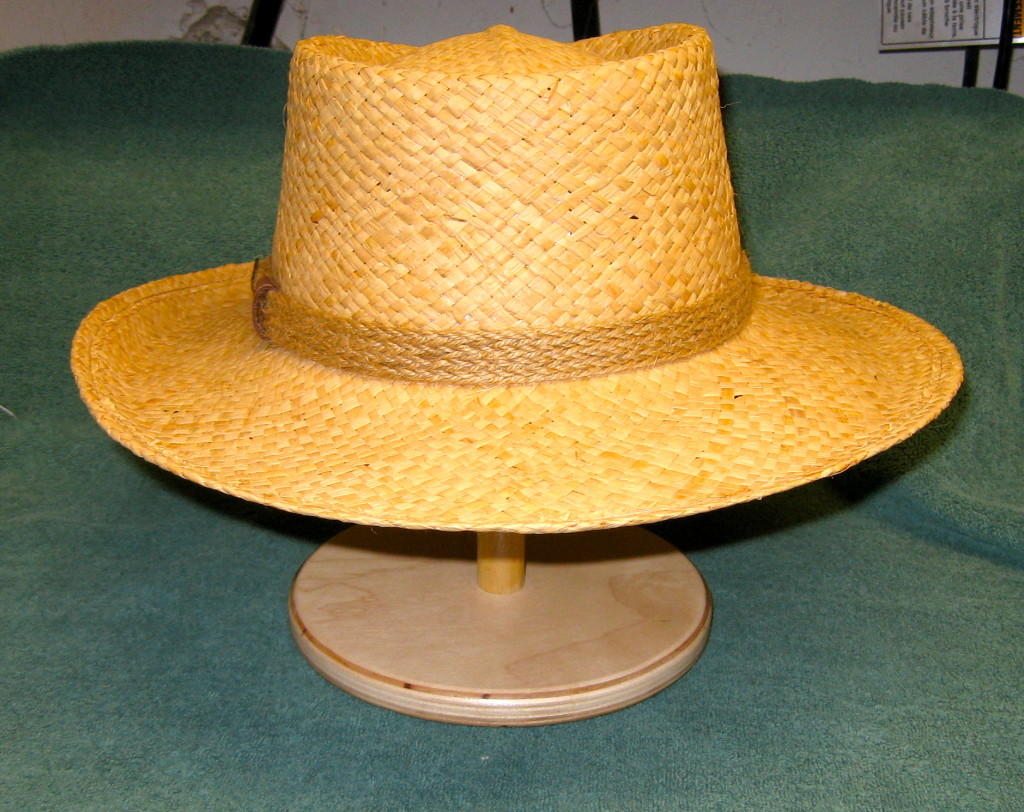
 You can make a wooden hat stand easily. I was asked to make hat stands out of wood as a Christmas present. They were to be made different heights so they could be put on a closet shelf. Hats with brims could be put closer together as the brims would not touch each other, because they are at different heights.
Simply made out of 15mm (9/16″) baltic birch ply. 2 disks- 4″ top and 7″ bottom with a 3/4″ dowel center.
Start by cutting the disks. I have a bandsaw and made a circle cutting jig inspired by one I saw on youtube. You can use a jigsaw, if that is what you have. Easiest on a bandsaw to cut out square blanks to start. With a jigsaw, cut to the circle you have drawn. Mark the center of the circle to make it easier to drill the dowel hole.


Hopefully the edges are relatively smooth. Use sandpaper to get them smoother. Sand the dowel too. To round over the edges I used a 1/4″ round over bit in a router mounted in a table. Rounding over both sides. Sand both faces.
Measure the diameter of the dowel you have. Sometimes they vary. Drill a hole for a snug fit. I used a Forstner bit to make a smooth bottomed hole half way through. You can drill all the way through using a spade bit (cheaper). I finished them using water based polyurethane taking care not to get it in the holes. Apply the finish to the dowel before cutting it up.
Cut the dowel to the lengths you need. I found a friction fit worked fine. Put your hat on the stand. Smile, because the brim of your fedora is protected.


