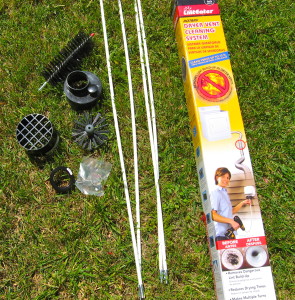
This is how I clean a dryer vent quickly and easily. When they designed this house, the dryer was a long way from the outside wall, so they put a 10 foot plastic pipe in the concrete foundation. It has been a headache from the start. Lint collects on the walls of the pipe and has been impossible to clean effectively. Even worse there are two 90 degree bends. The best I could do was scrape the sides with an 8 foot long stick and blow the lint out with an electric leaf blower. Happily I found a solution on Amazon that really works. A Gardus RLE202 LintEater Rotary Dryer Vent Cleaning System. Not a catchy name for sure, but I love it. Here is a link to it on Amazon. It is an affiliate link but costs you nothing. Gardus RLE202 LintEater 10-Piece Rotary Dryer Vent Cleaning System
I dreaded trying to clean the vent, but when it takes forever for my clothes to dry and you know they are wearing themselves out – something had to be done.
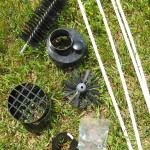
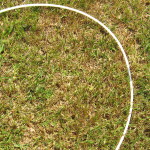
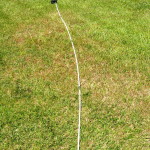
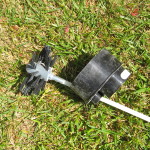
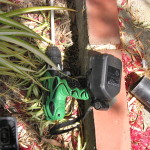
The LintEater comes with an 2 brushes, a cutter tip for rain gutter use, 4- 3′ flexible rods and 2 adaptors to fit to a standard 4″ dryer vent. I used the adaptor to hook my shop vac to the dryer vent while brushing it out. A clean way to do it. No dust in my face. If you don’t have a shop vac, you could turn on the dryer to air dry and clean from the outside. A dryer doesn’t blow very hard though. You can see from the pictures the rods are very flexible and when screwed together reach 12 feet. You do need to attach the rods to a power drill to spin the brush. This gives it the great cleaning action. The instructions suggest you wrap some tape around the area where the rods are screwed together. This is to prevent them from unscrewing if you accidentally switch the drill into reverse.
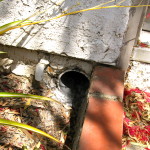
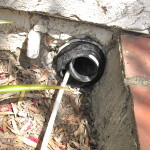
In the pictures above you can see the brush fed through the dryer vent plug, then it is inserted into the vent. This vent was cleaned several months ago so the buildup is not bad. Not like when I first did it!
I attached my shop vac to the vent and then fed the cleaner, attached to my drill, into the vent. Since I vent wasn’t too dirty, I did all twelve feet at one time . Feed it in slowly, with a back and forth motion to scrub the vent. The first time I did it, I added one three foot section at a time. Making sure that each section of the vent was clean before adding on another rod. When the vent is caked with lint, it causes friction on the brush. The rods are flexible and want to whip. Adding one rod at a time reduces this.
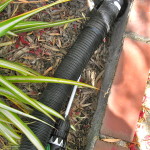
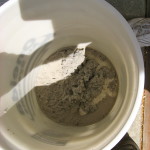
The brush is short so can get around elbows. This is where it really shines for me. At the far end close to the dryer there are 2 elbows. This traps lint. When the cleaner hits that area, I can really hear the lint being sucked into the vacuum. You can see the collected lint in the picture above
After years of my dryer vent being half-way clogged, it is clean. This product makes it easy. Now I clean it whenever I feel the dryer is taking too long to dry clothes. This saves wear and tear on my clothes and energy. As you can tell I am real happy with this product.
Gardus RLE202 LintEater 10-Piece Rotary Dryer Vent Cleaning System
