I find this is the best way to caulk a bathtub. No one likes to re-caulk a bathtub, but it is a necessary evil. If it isn’t done- it looks terrible. Even worse, water will get behind the tile and damage the wood underneath. The best way is to remove the old, mildewed and loose caulk. By removing the old caulk and replacing with new, you will have a long lasting repair. If you just go over the old, the mildew will just transfer to the new and there will not be a good bond.

The goal is to have an elastic seal between the tub and the wall. When the tub is filled with water, it actually moves down slightly from the wall. Each gallon of water weighs eight pounds plus a person- it adds up. That is why the caulk has to flex or it will crack. As in painting, preparation is the key. You have to remove as much as possible of the old caulk. Here are the tools I use. Feel free to improvise. I use the razor blade to scrape and cut, the screwdriver and pick to get under and lift, the long nose pliers to pull strips of caulk off. It is great when you can work loose a section of old caulk and it comes off in a long strand. Unfortunately, that seldom happens for me.
Here is a tool I find useful. It is an oscillating multifunction tool. You can get them cheap at

Harbor Freight or Amazon. Genesis GMT15A Multi-Purpose Oscillating Tool
They sell them cheap, because they get you on the attachments. The saw blade I use comes with the tool. A simple steel saw. You don’t need carbide, because we are not removing hard grout. I use a thin steel sheet to protect the tubs porcelain if I slip. When using any of the tools, take care not to scratch the tub or wall. You have to be very careful if you have a fiberglass tub or wall.
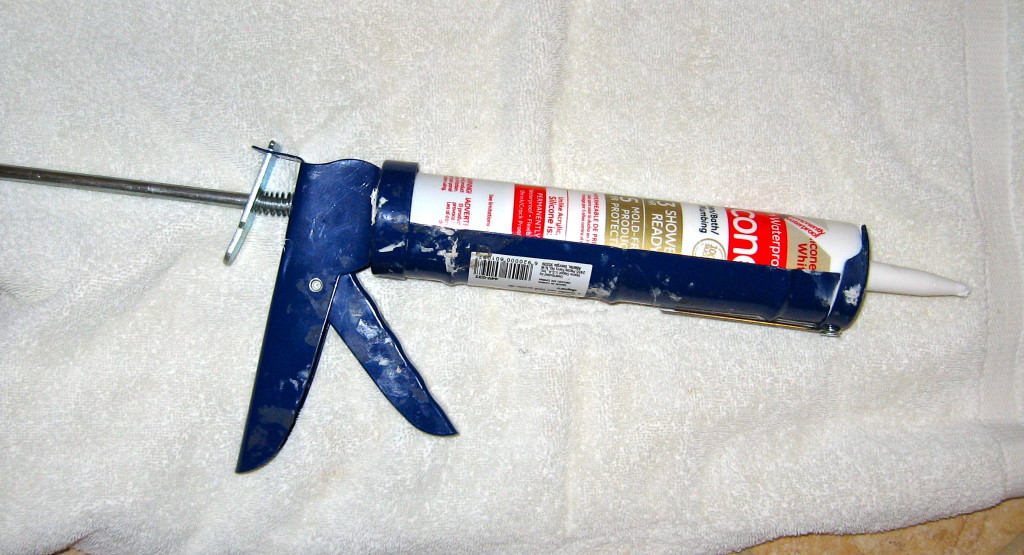
After you have removed all the old caulk, use a vacuum to get all the loose bits. Here are  the two grouts that are most popular at Home Depot. I have been having a tough time with the Kwik Seal mildewing after a year (really annoying). I have started using the GE white silicone for better mildew resistance. You can also get it in a big tube to use with a caulking gun.

Before applying the caulk, have a bunch of paper towels handy and a small bowl with soapy water in it. Apply a bead of caulk. The thickness of the bead takes practice. Too little and you won’t fill the gap. Too much and you will have a lot to clean up. So do a little section first. Take your finger, dip it in the soapy water, and smooth the bead of caulk down so it blends into the wall and the tub with a dished look. Remove excess caulk with your finger. You want a nice seal. Wipe the excess off of your finger with the paper towels. Do another section. You can blend one section into another with your finger. Keep on going. Dipping your finger in the soapy water keeps the caulk from sticking to your finger, giving a smooth finish. Once you are done, stand back and look at the difference it makes! Follow the directions on the caulk for drying times.


