Oneida Dust Deputy Review

Ridgid WD1450 and Oneida Dust Deputy

Ridgid WD1450 and Dust Deputy

Oneida Dust Deputy Review. As mentioned in my previous post on the Home Depot  Ridgid 14 gallon shop vac, it is great except for the filter clogging rapidly. I needed a way to pre-filter the air. I decide upon hooking up an Oneida Dust Deputy to my Ridgid Wet/Dry Vacuum. This dust separator was the solution.

Their are quite a few dust separators on the market, including one that Rockler sells. Kits are also available to make your own. Fortunately, I saw a video by Marc Spagnuolo the   “Wood Whisperer” where he did a comparison of four brands. The Oneida looked like the one for me. I ordered one and it arrived on my doorstep. The Dust Deputy sold on Amazon is basically 2 heavy duty 5 gallon buckets with a cyclone separator on top. The bottom bucket is used if you want to put wheels on it and attach it to your shop vac like I show above. Then you

Oneida Dust Deputy Attached WD1450

Dust Deputy Attached WD1450

slide the top bucket into it. This is for easy removal when you need to empty the dust and chips. Oneida gives you the parts to physically attach it to your vacuum (bolts, foam spacer block, wheels) So it rolls along with your vac. I did not do this right away. Oneida also includes a good quality  hose to hook the cyclone up to the vacuum. If you want to attach it to your vac, cut the foam block to the vacuum’s profile and run the 2 bolts between the bucket and the vac. Yes you have to drill two holes in your vac.

How good does it work? It works great! I emptied my vacuum and attached the Dust Deputy. After vacuuming up a bunch of sawdust and chips, there was just the tiniest bit in the shop vac. Like a teaspoon full if that. Good news for me, I could then install filter bags since they would not fill up quickly. Now the suction remains constantly strong. I move the unit to the power tool I am using, but usually have it hooked up to my table saw. I also use it to clean up the shop.

The unit does build up a static charge. Oneida gives you some copper tabe to attach to the cyclone to dissipate it. You then attach a wire to a washer that drags on the ground to “ground out” the charge. I did get a good jolt one time, though not exactly sure how. Regardless, I am very happy with this product and would buy it again.

Oneida Dust Deputy Dust collection bucket

Dust Deputy Dust collection

Ridgid WD1450 Wet/Dry Vac Review

Ridgid WD1450


This is my review of the Ridgid WD1450 wet/dry vacuum. I was tired of the dust coming from all my power tools and flying all over the garage. I did not want to pay for a shop dust collection system, so I decided to get a good shop vac and see what it could do. I settled on one from Home Depot after reading many reviews. The Ridgid WD1450 is about $100 and gets you a well built, 14 gallon, relatively quite, powerful wet/dry vacuum. It comes with a hose, 2 wands, a surface cleaner attachment, and a bag that carries attachments on the vac. There are many additional attachments available at Home Depot. I like that it comes with a long power cord. I have been happy with all  the Ridgid products I have purchased.

This thing is powerful. Keep small children and pets away when using! OK that is a joke, but it is strong. I needed a lot of suction because I wanted to use it on shop tools like a table saw. It does the job with my table saw. It doesn’t get all the dust, because my saw isn’t designed for efficient dust collection, but it really helps keep the small stuff out of the air. I think it is a real bargain for the price.

The one complaint I have with it, is the suction is so strong, it lifts most of the collected dust into the pleated filter instead of leaving it on the bottom of the vac chamber. This clogs the filter quickly cutting down on the suction. I hate cleaning filters and I had to do it often. Home Depot does sell bags to use with this vac. They work well and the suction doesn’t fall as quickly with them. With as much saw dust that I collect, this can get expensive real quick. So I found a solution I will share in my next post. Dust Deputy

Ridgid WD1450 Filter Bags

Ridgid WD1450 Pleated Filter and Filter Bags

Bathtub Caulking the Best Way

I find this is the best way to caulk a bathtub. No one likes to re-caulk a bathtub, but it is a necessary evil. If it isn’t done- it looks terrible. Even worse, water will get behind the tile and damage the wood underneath. The best way is to remove the old, mildewed and loose caulk. By removing the old caulk and replacing with new, you will have a long lasting repair. If you just go over the old, the mildew will just transfer to the new and there will not be a good bond.

Caulk Removal Tools

Caulk Removal Tools

The goal is to have an elastic seal between the tub and the wall. When the tub is filled with water, it actually moves down slightly from the wall. Each gallon of water weighs eight pounds plus a person- it adds up. That is why the caulk has to flex or it will crack. As in painting, preparation is the key. You have to remove as much as possible of the old caulk. Here are the tools I use. Feel free to improvise. I use the razor blade to scrape and cut, the screwdriver and pick to get under and lift, the long nose pliers to pull strips of caulk off. It is great when you can work loose a section of old caulk and it comes off in a long strand. Unfortunately, that seldom happens for me.

Here is a tool I find useful. It is an oscillating multifunction tool. You can get them cheap at

Oscillating Multifunction Tool

Oscillating Multifunction Tool

Harbor Freight or Amazon. Genesis GMT15A Multi-Purpose Oscillating Tool
They sell them cheap, because they get you on the attachments. The saw blade I use comes with the tool. A simple steel saw. You don’t need carbide, because we are not removing hard grout. I use a thin steel sheet to protect the tubs porcelain if I slip. When using any of the tools, take care not to scratch the tub or wall. You have to be very careful if you have a fiberglass tub or wall.

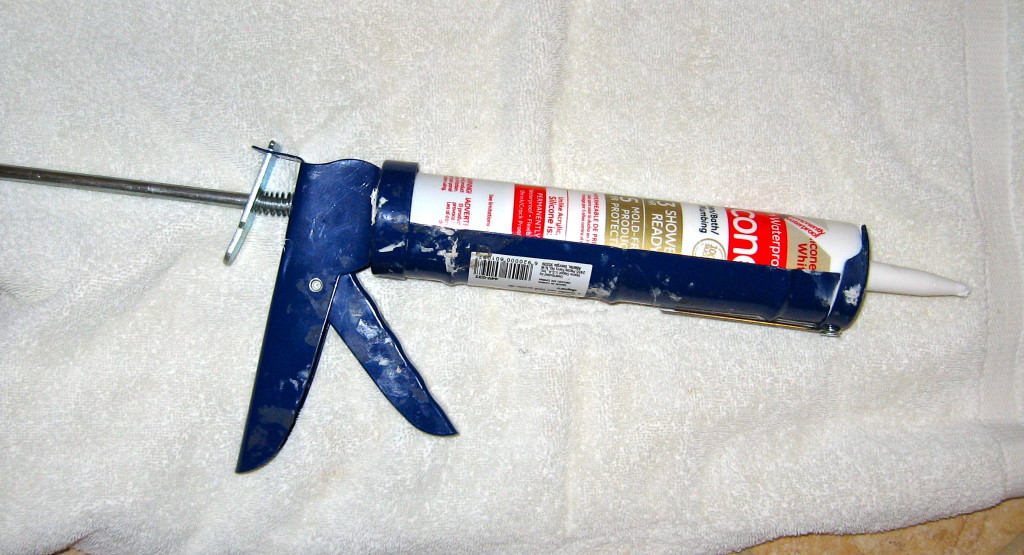
After you have removed all the old caulk, use a vacuum to get all the loose bits. Here are Bathtub caulk removedthe two grouts that are most popular at Home Depot. I have been having a tough time with the Kwik Seal mildewing after a year (really annoying). I have started using the GE white silicone for better mildew resistance. You can also get it in a big tube to use with a caulking gun.

Bathtub Caulks

Caulks

Before applying the caulk, have a bunch of paper towels handy and a small bowl with soapy water in it. Apply a bead of caulk. The thickness of the bead takes practice. Too little and you won’t fill the gap. Too much and you will have a lot to clean up. So do a little section first. Take your finger, dip it in the soapy water, and smooth the bead of caulk down so it blends into the wall and the tub with a dished look. Remove excess caulk with your finger. You want a nice seal. Wipe the excess off of your finger with the paper towels. Do another section. You can blend one section into another with your finger. Keep on going. Dipping your finger in the soapy water keeps the caulk from sticking to your finger, giving a smooth finish. Once you are done, stand back and look at the difference it makes! Follow the directions on the caulk for drying times.

Applying Caulk Bead

Caulk Bead (Click to Enlarge)

Smoothing Bathtub Caulk Bead

Smooth (Click to Enlarge)


Bathtub Caulking Finished

All Done!